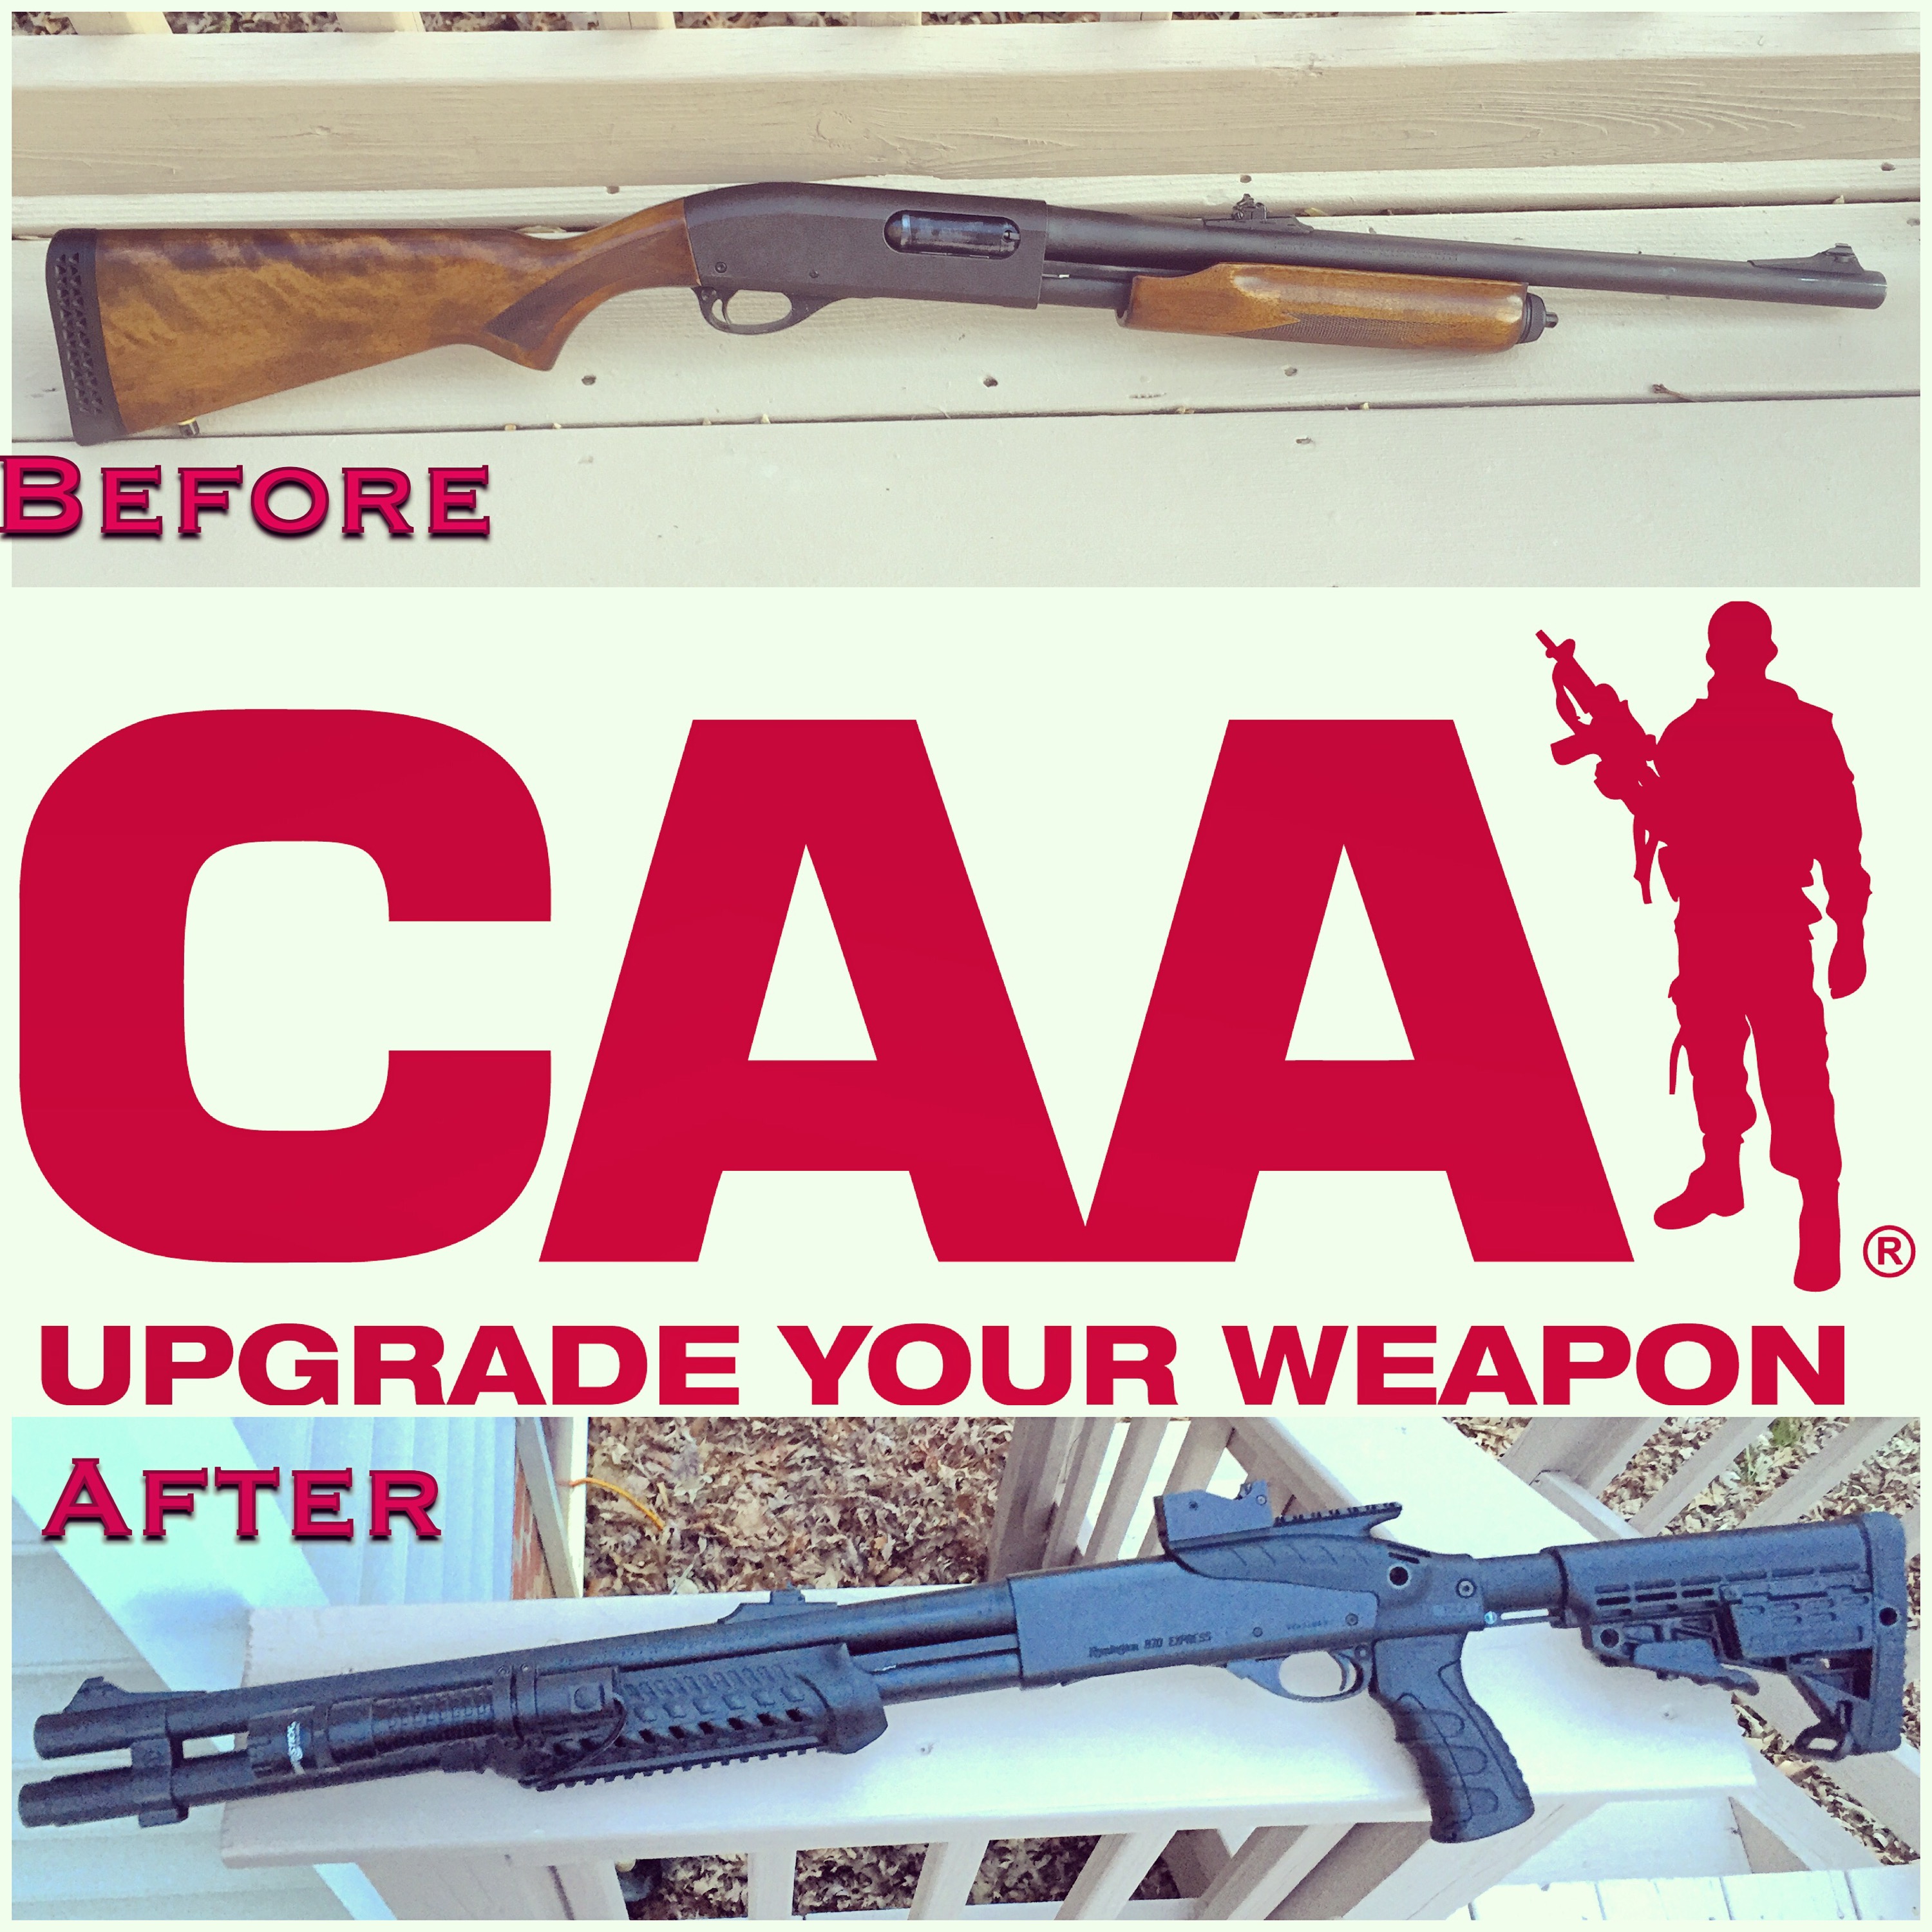
Command Arms Accessories- Remington 870 Express upgrade build.
When you talk to the average guy about shotguns there are two models that generally come up; the Mossberg 500 and the Remington 870. Both are classic, super reliable, time tested pump shotguns. Many years ago I decided I wanted to build a tactical shotgun. At the time, I wanted an over the top folding stock, due to the location of the safety I chose the 870 express.
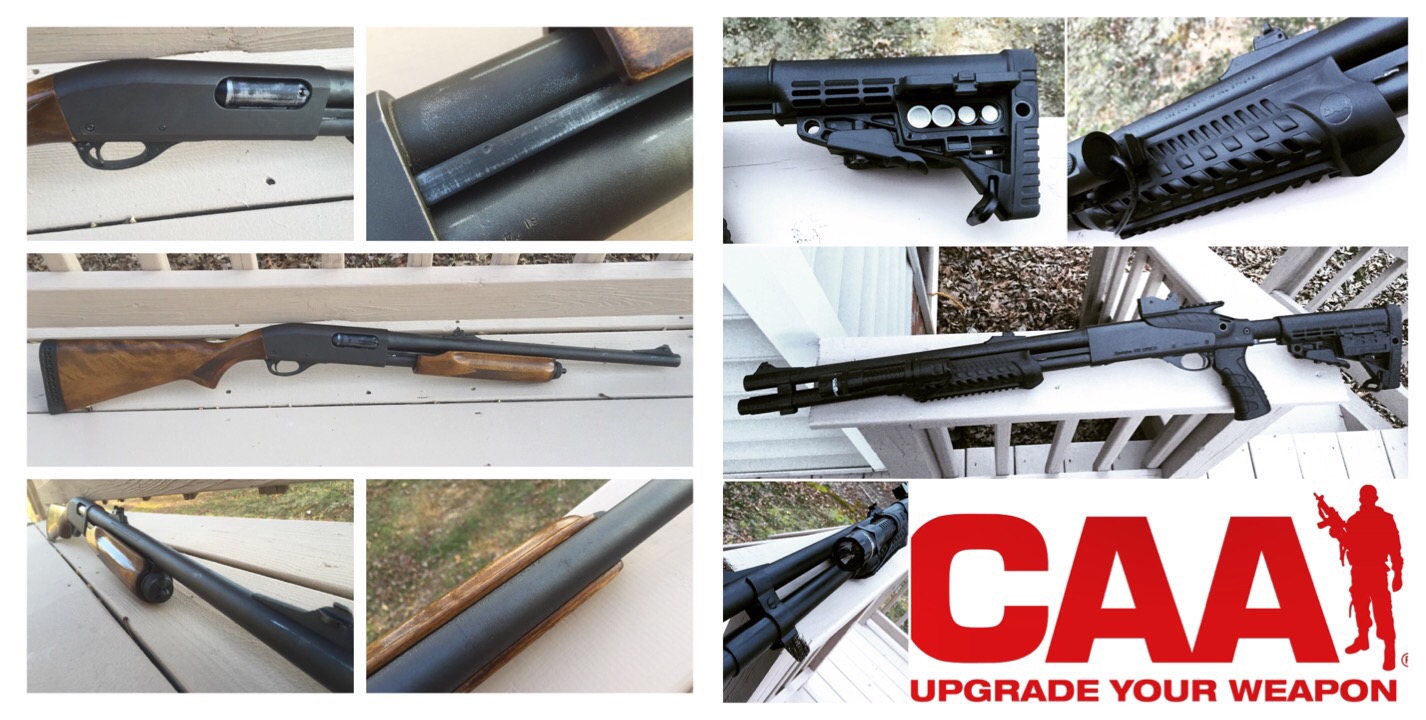
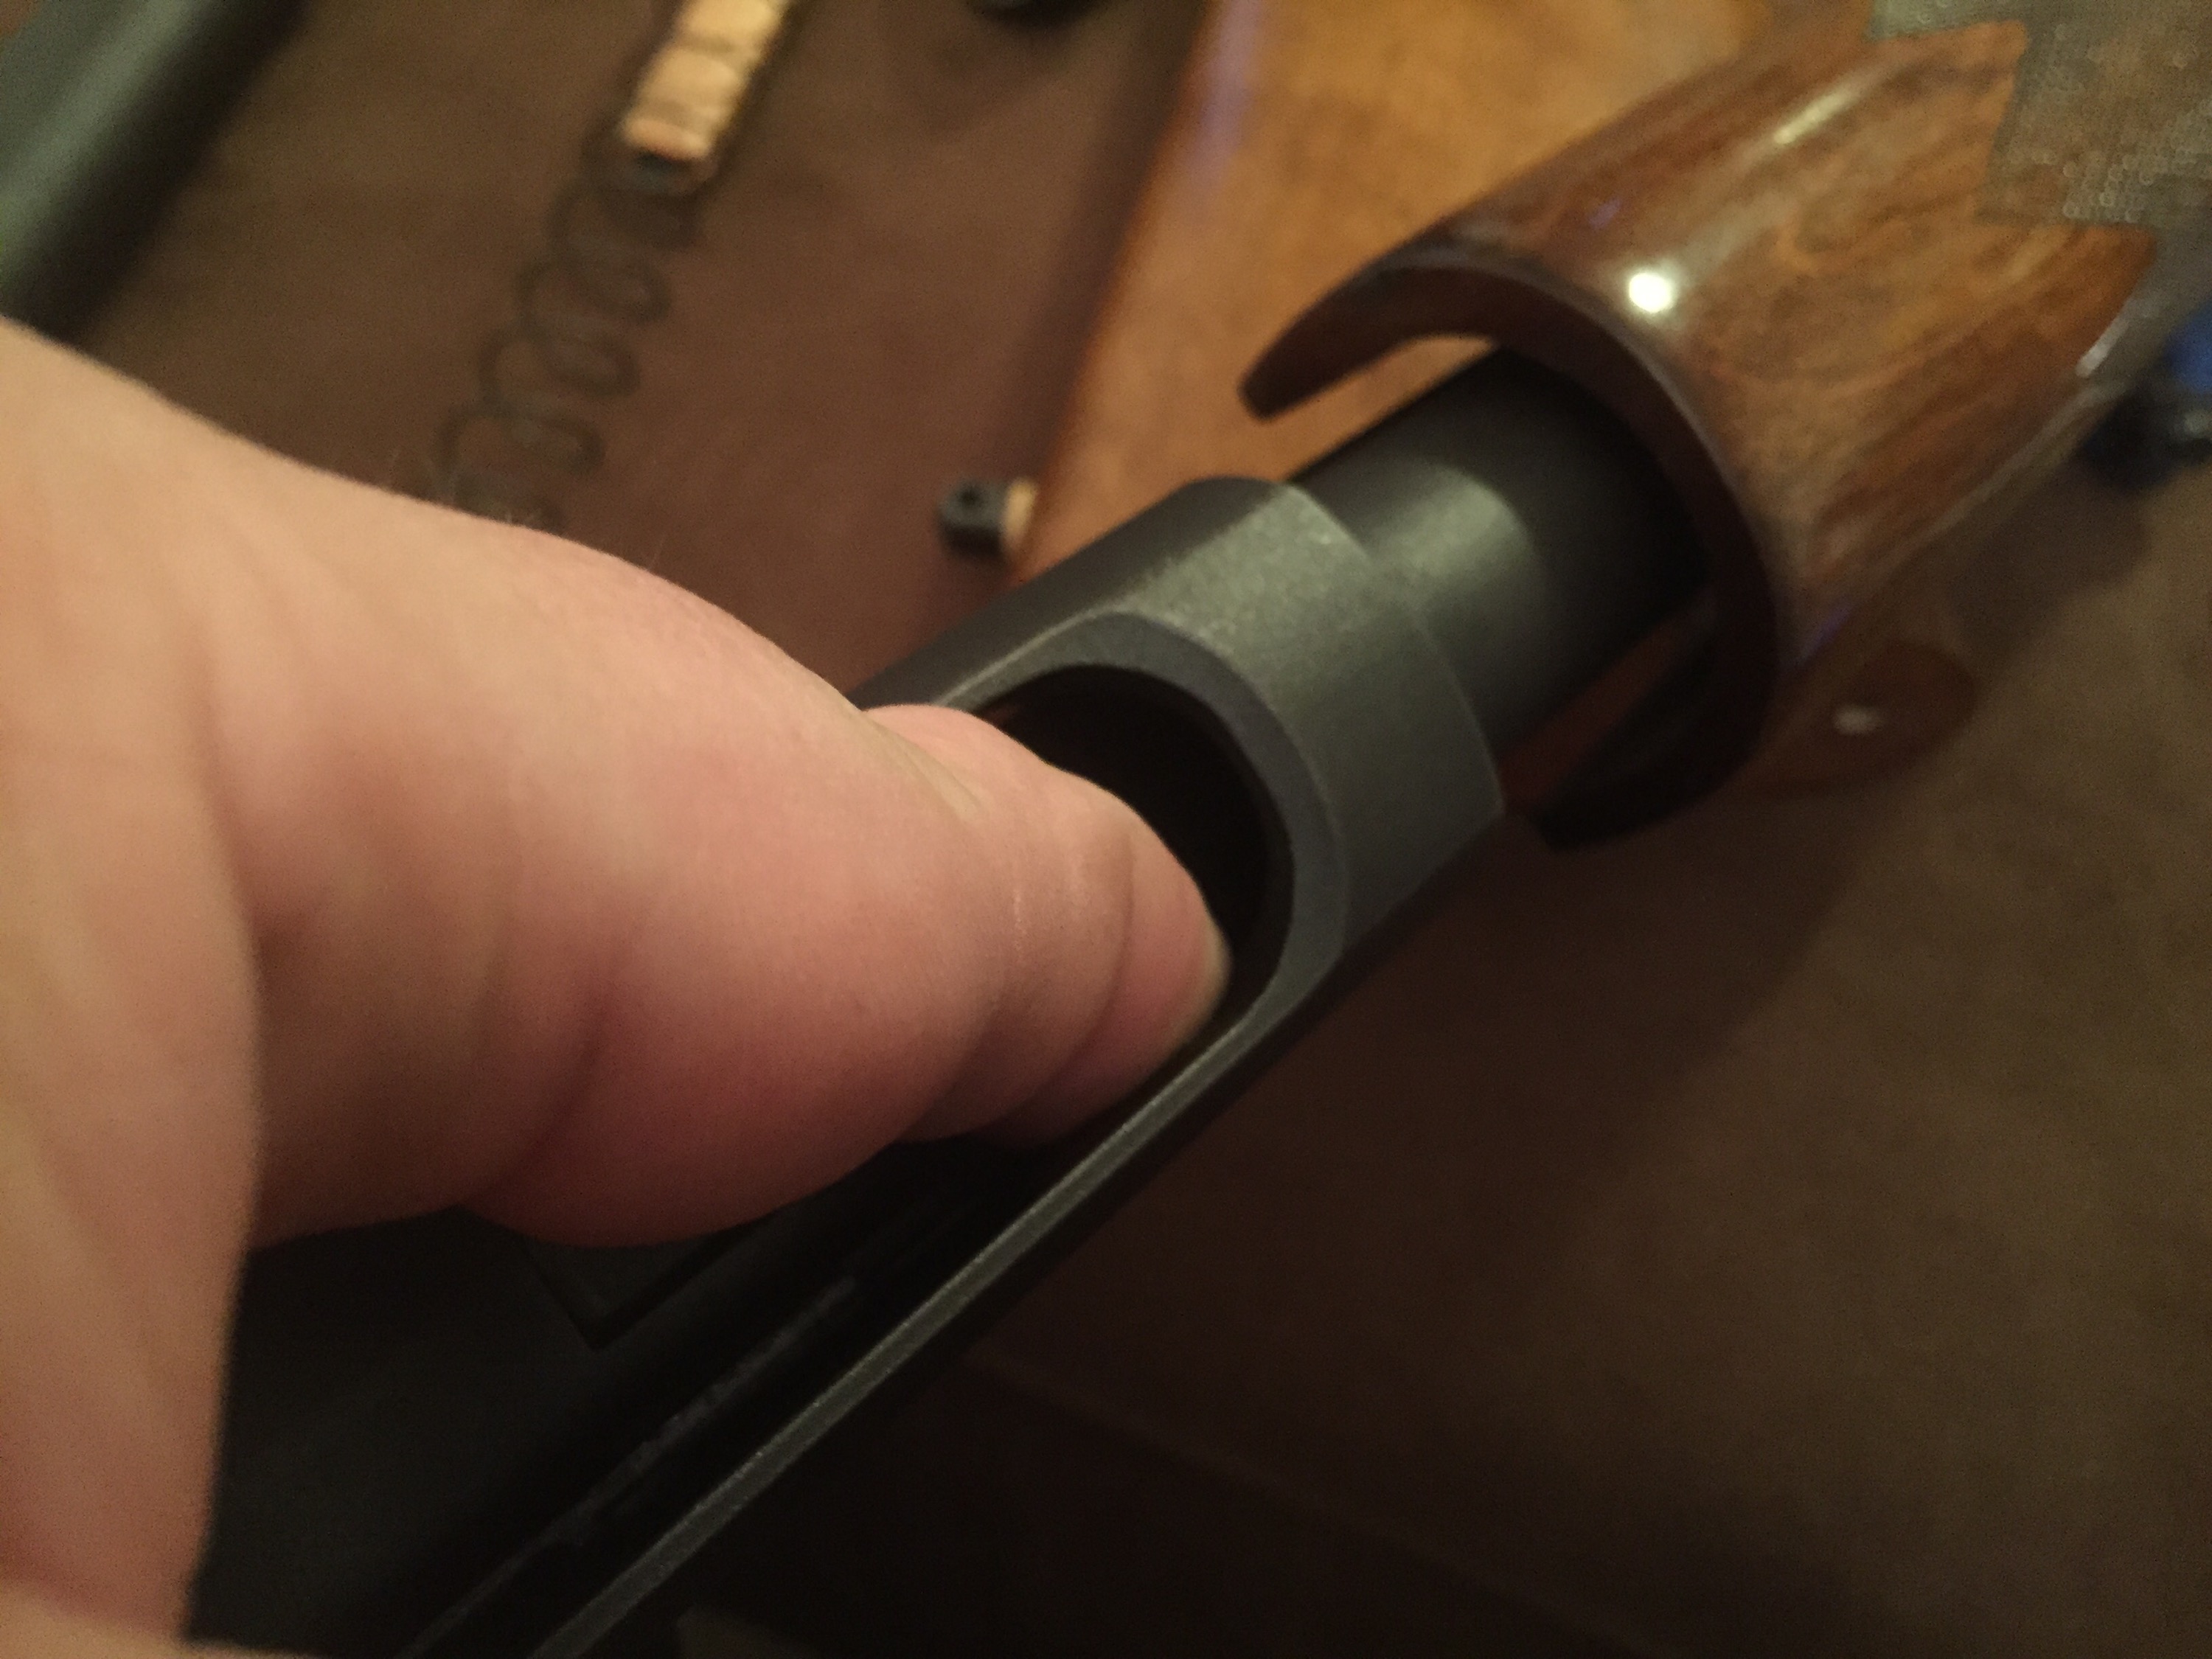
If you choose to buy a Remington 870 and feel a tactical transformation could be in the future; I urge you to look for an older gun. About 15 years ago Remington decided to add a small protrusion to the end of the magazine tube. This change prevents shells from passing beyond that point. So if you want a higher shell capacity you will need an older gun or a Dremel tool.
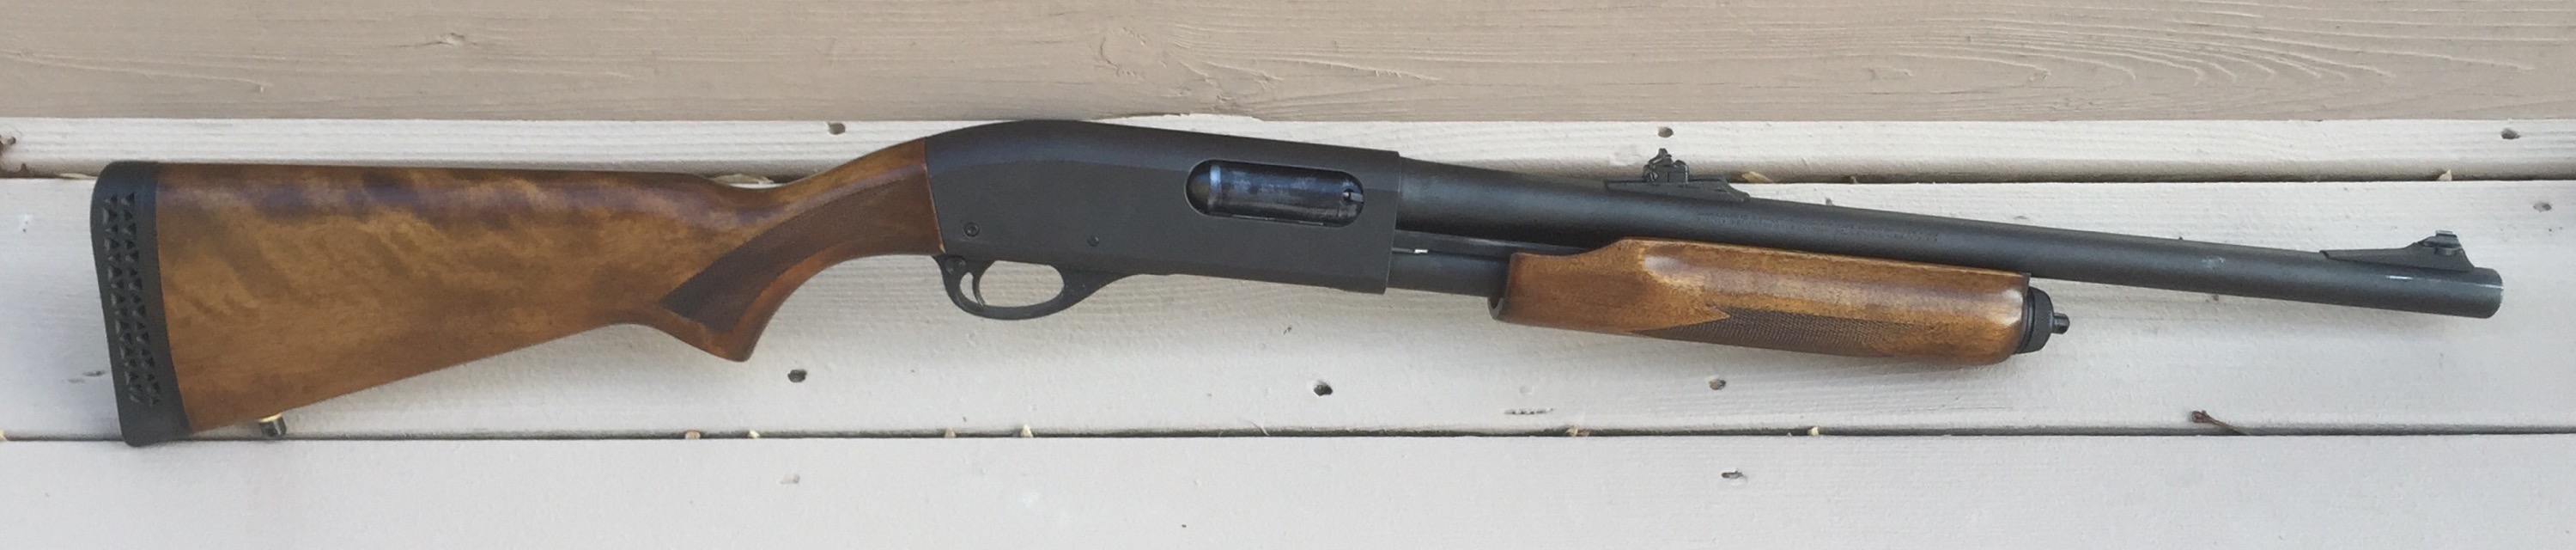
The gun I picked out was a used Remington 870 Express with a smooth bore slug gun set up and the Remington parkerized finish. My guess is the gun was a police weapon in it’s past life. So I did my build and at the time things were good. But today, my previous build was just getting embarrassing. So after a discussion with Command Arms Accessories reps at shotshow I decided it was time to bring the 870 into the new century and make a 12 gauge I could be proud of.
I had a magazine tube extension that I could carry over to the new build but otherwise this was a total tear down. Command Arms Accessories set me up with everything I needed to do this build the right way. We got a new stock, fore grip, shell carrier and quick detach sling swivel.
DISASSEMBLY
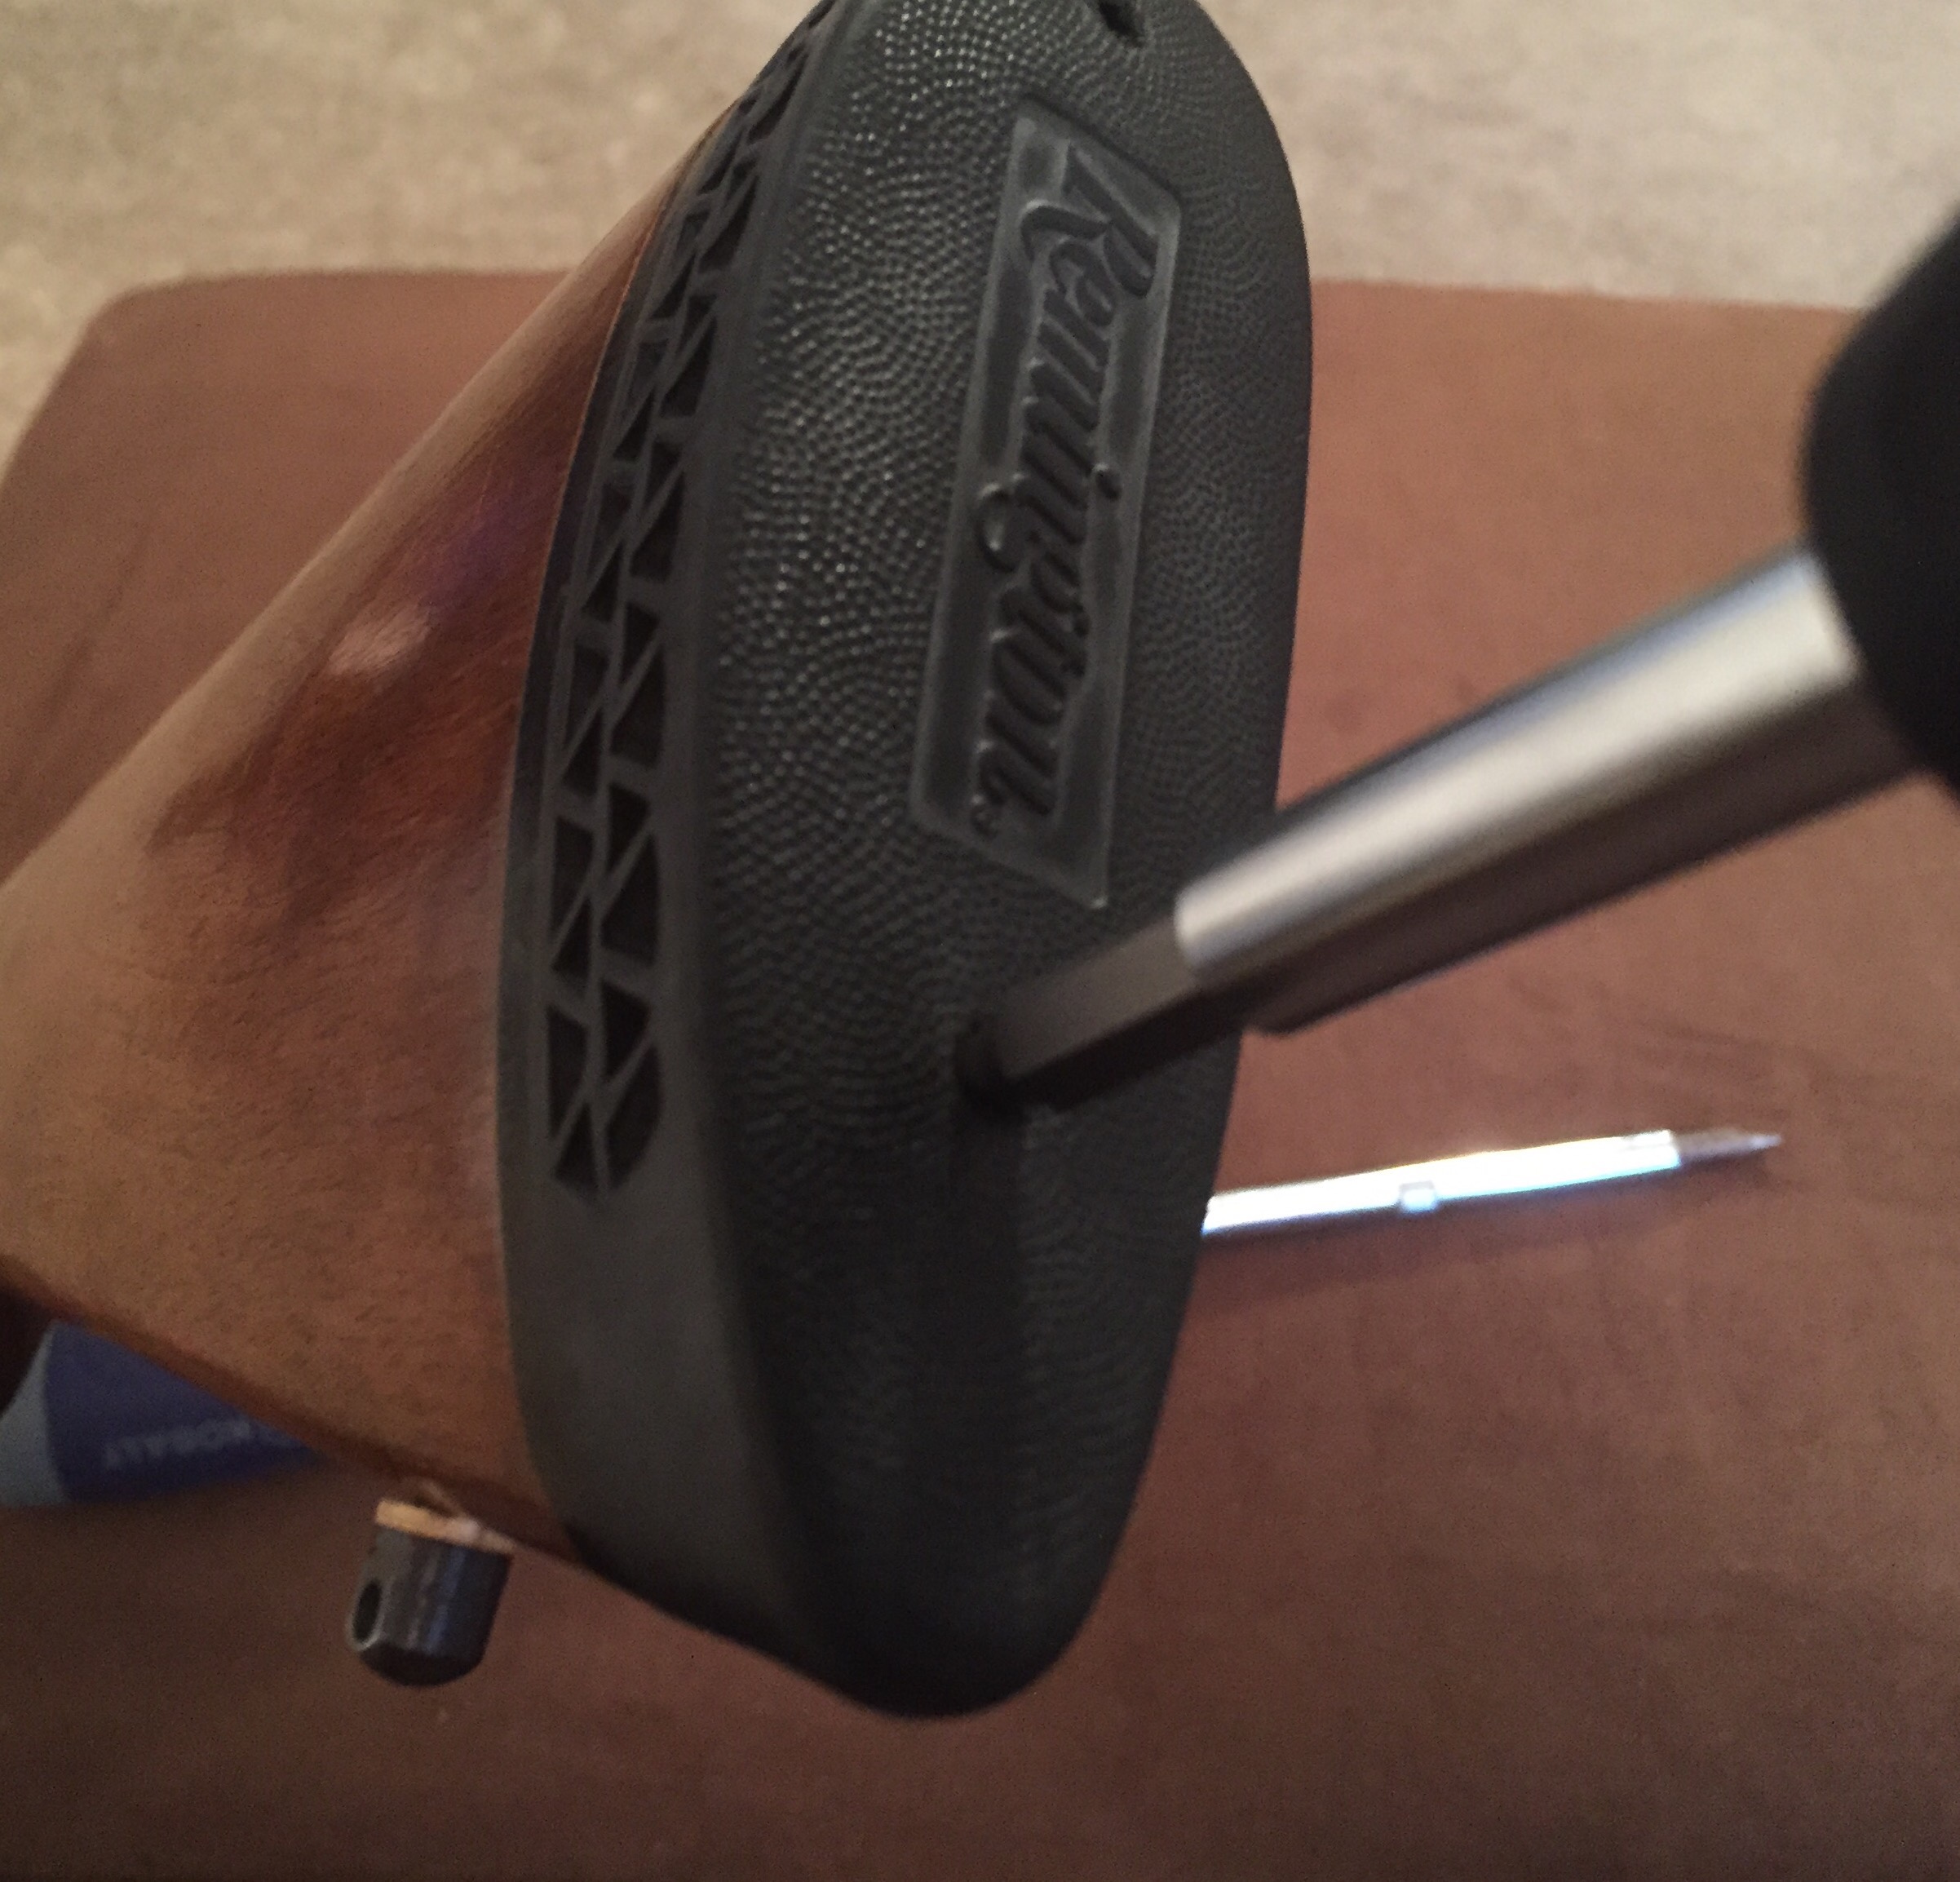
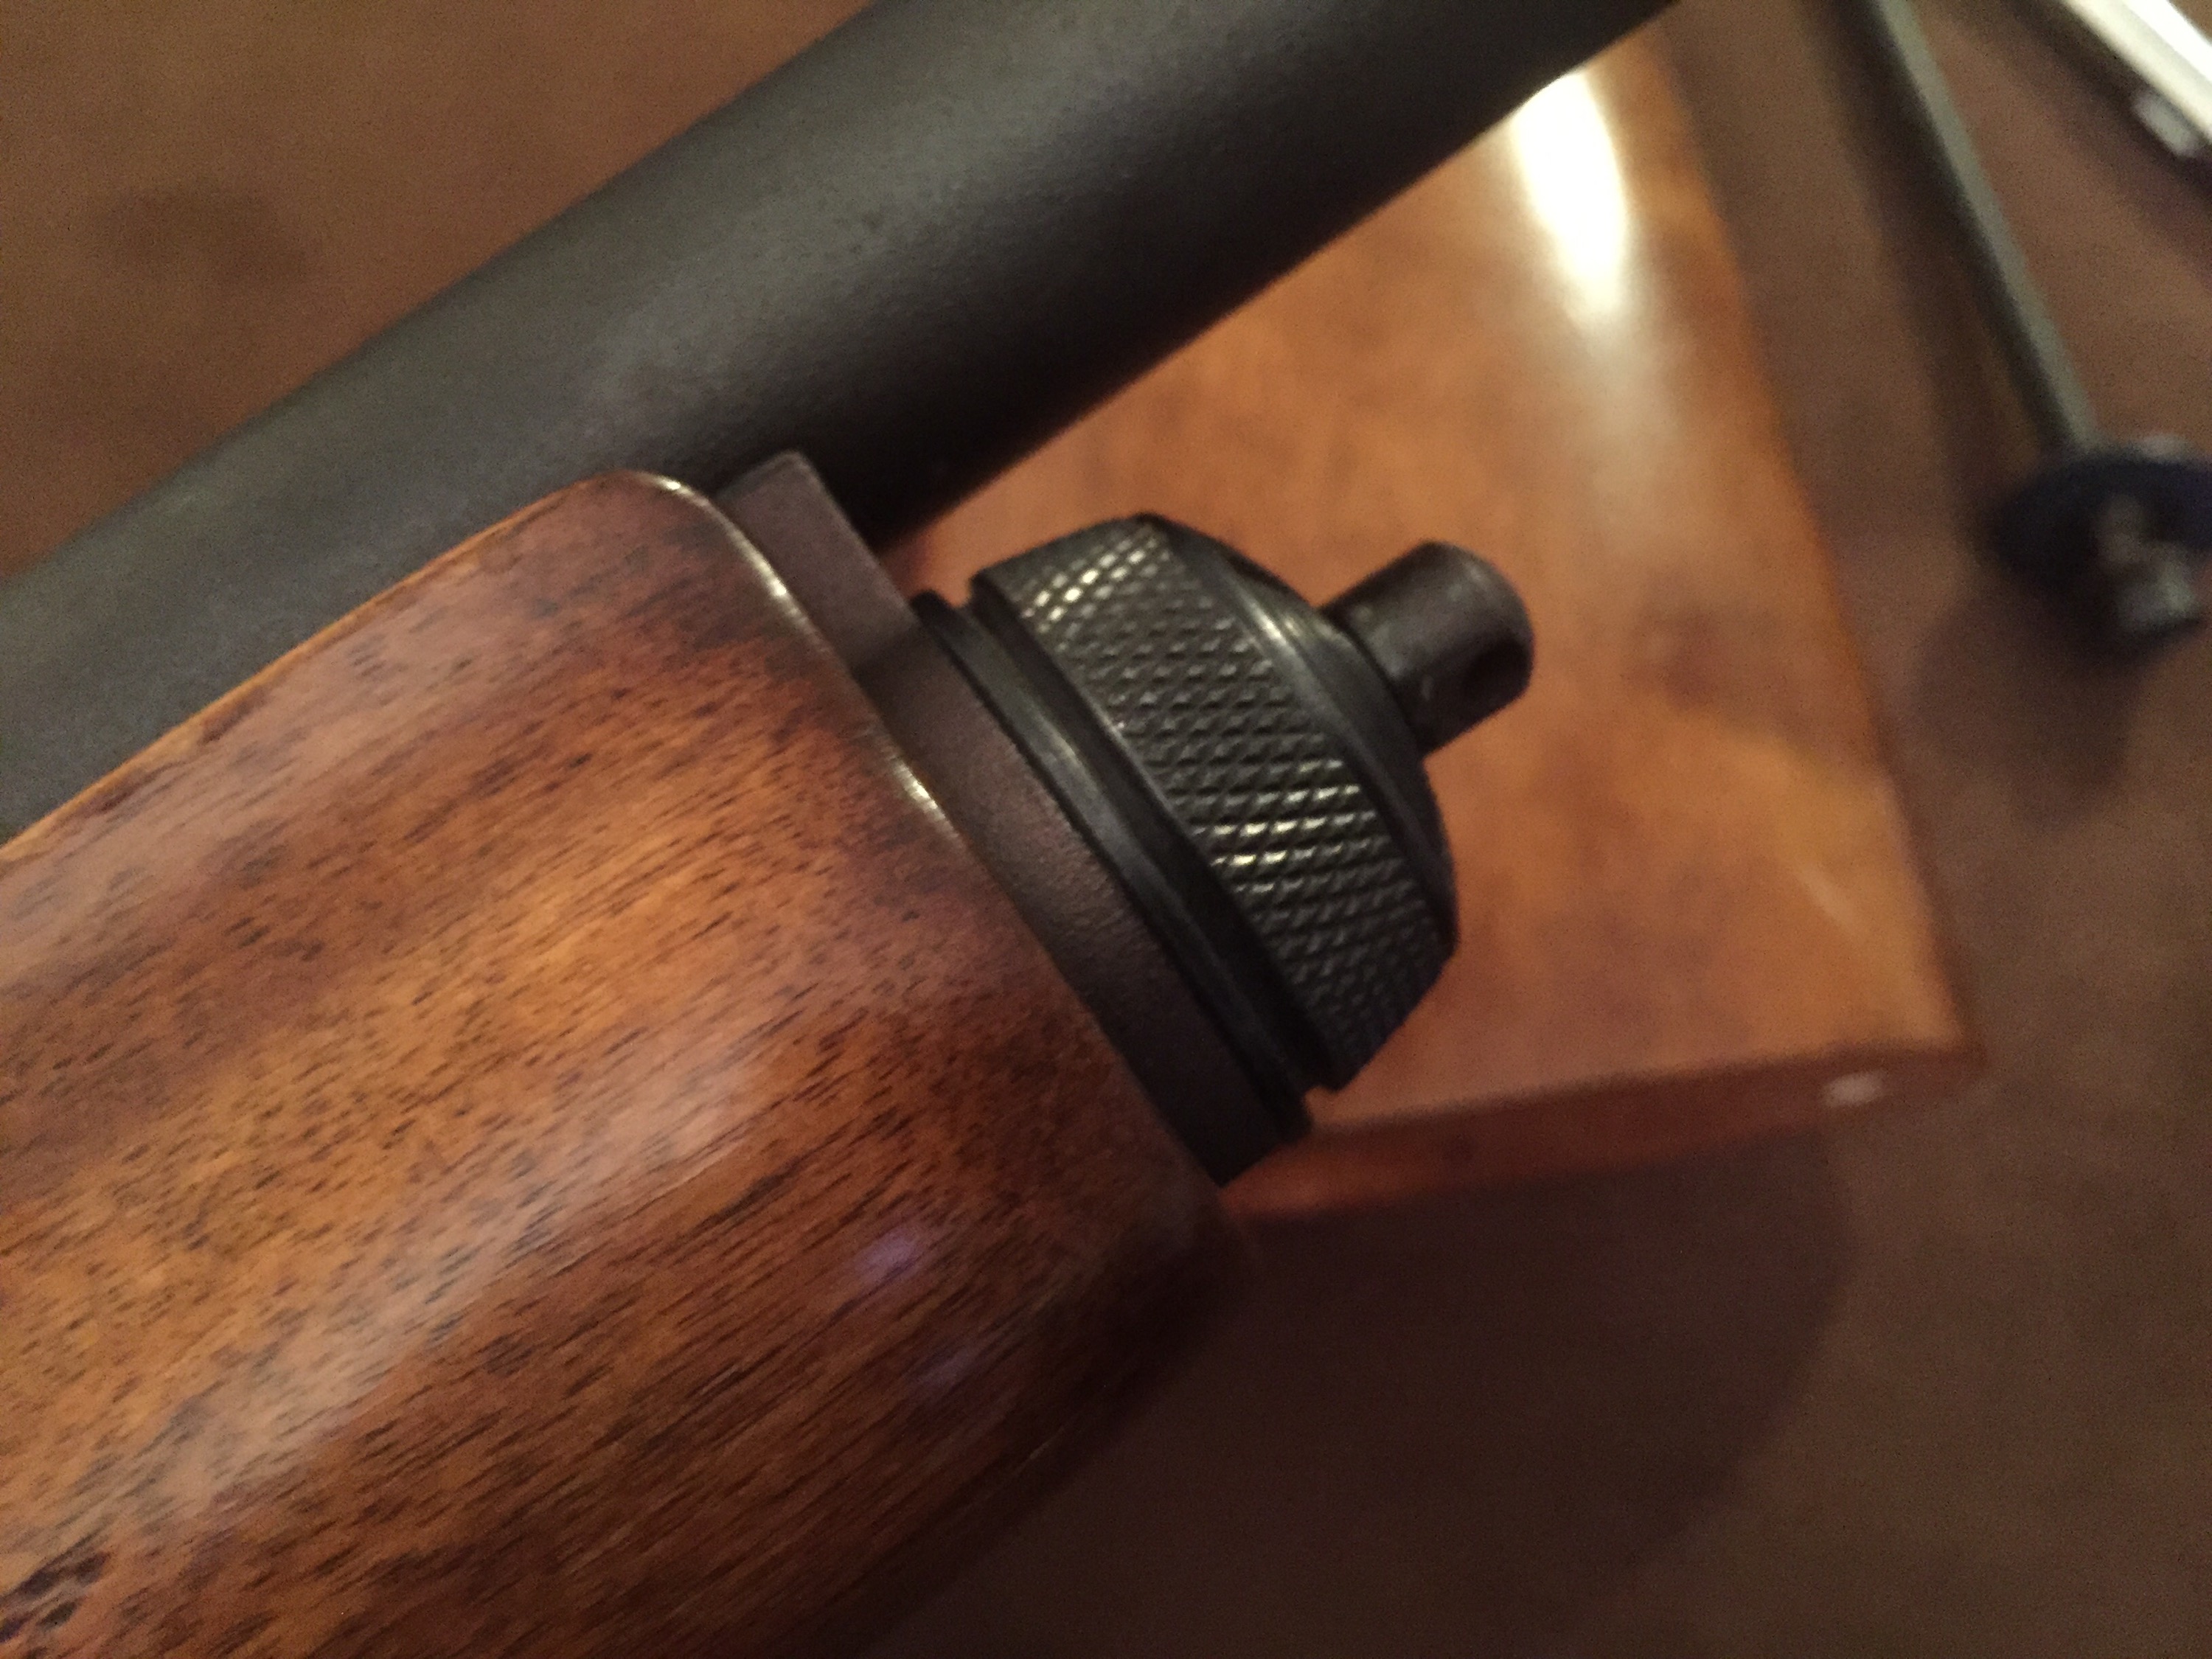
So what do we need beyond the chosen parts? Find a long straight slot screwdriver and a forend wrench, you will need allen wrenches as well but Command Arms Accessories supplies all you need. In my case, when it was time for disassembly I started with the stock and couldn’t even see the 1st screws as the were deep in the rubber of the buttpad. Just insert the appropriate screwdriver into the holes and feel your way to loosening and removing the buttpad.
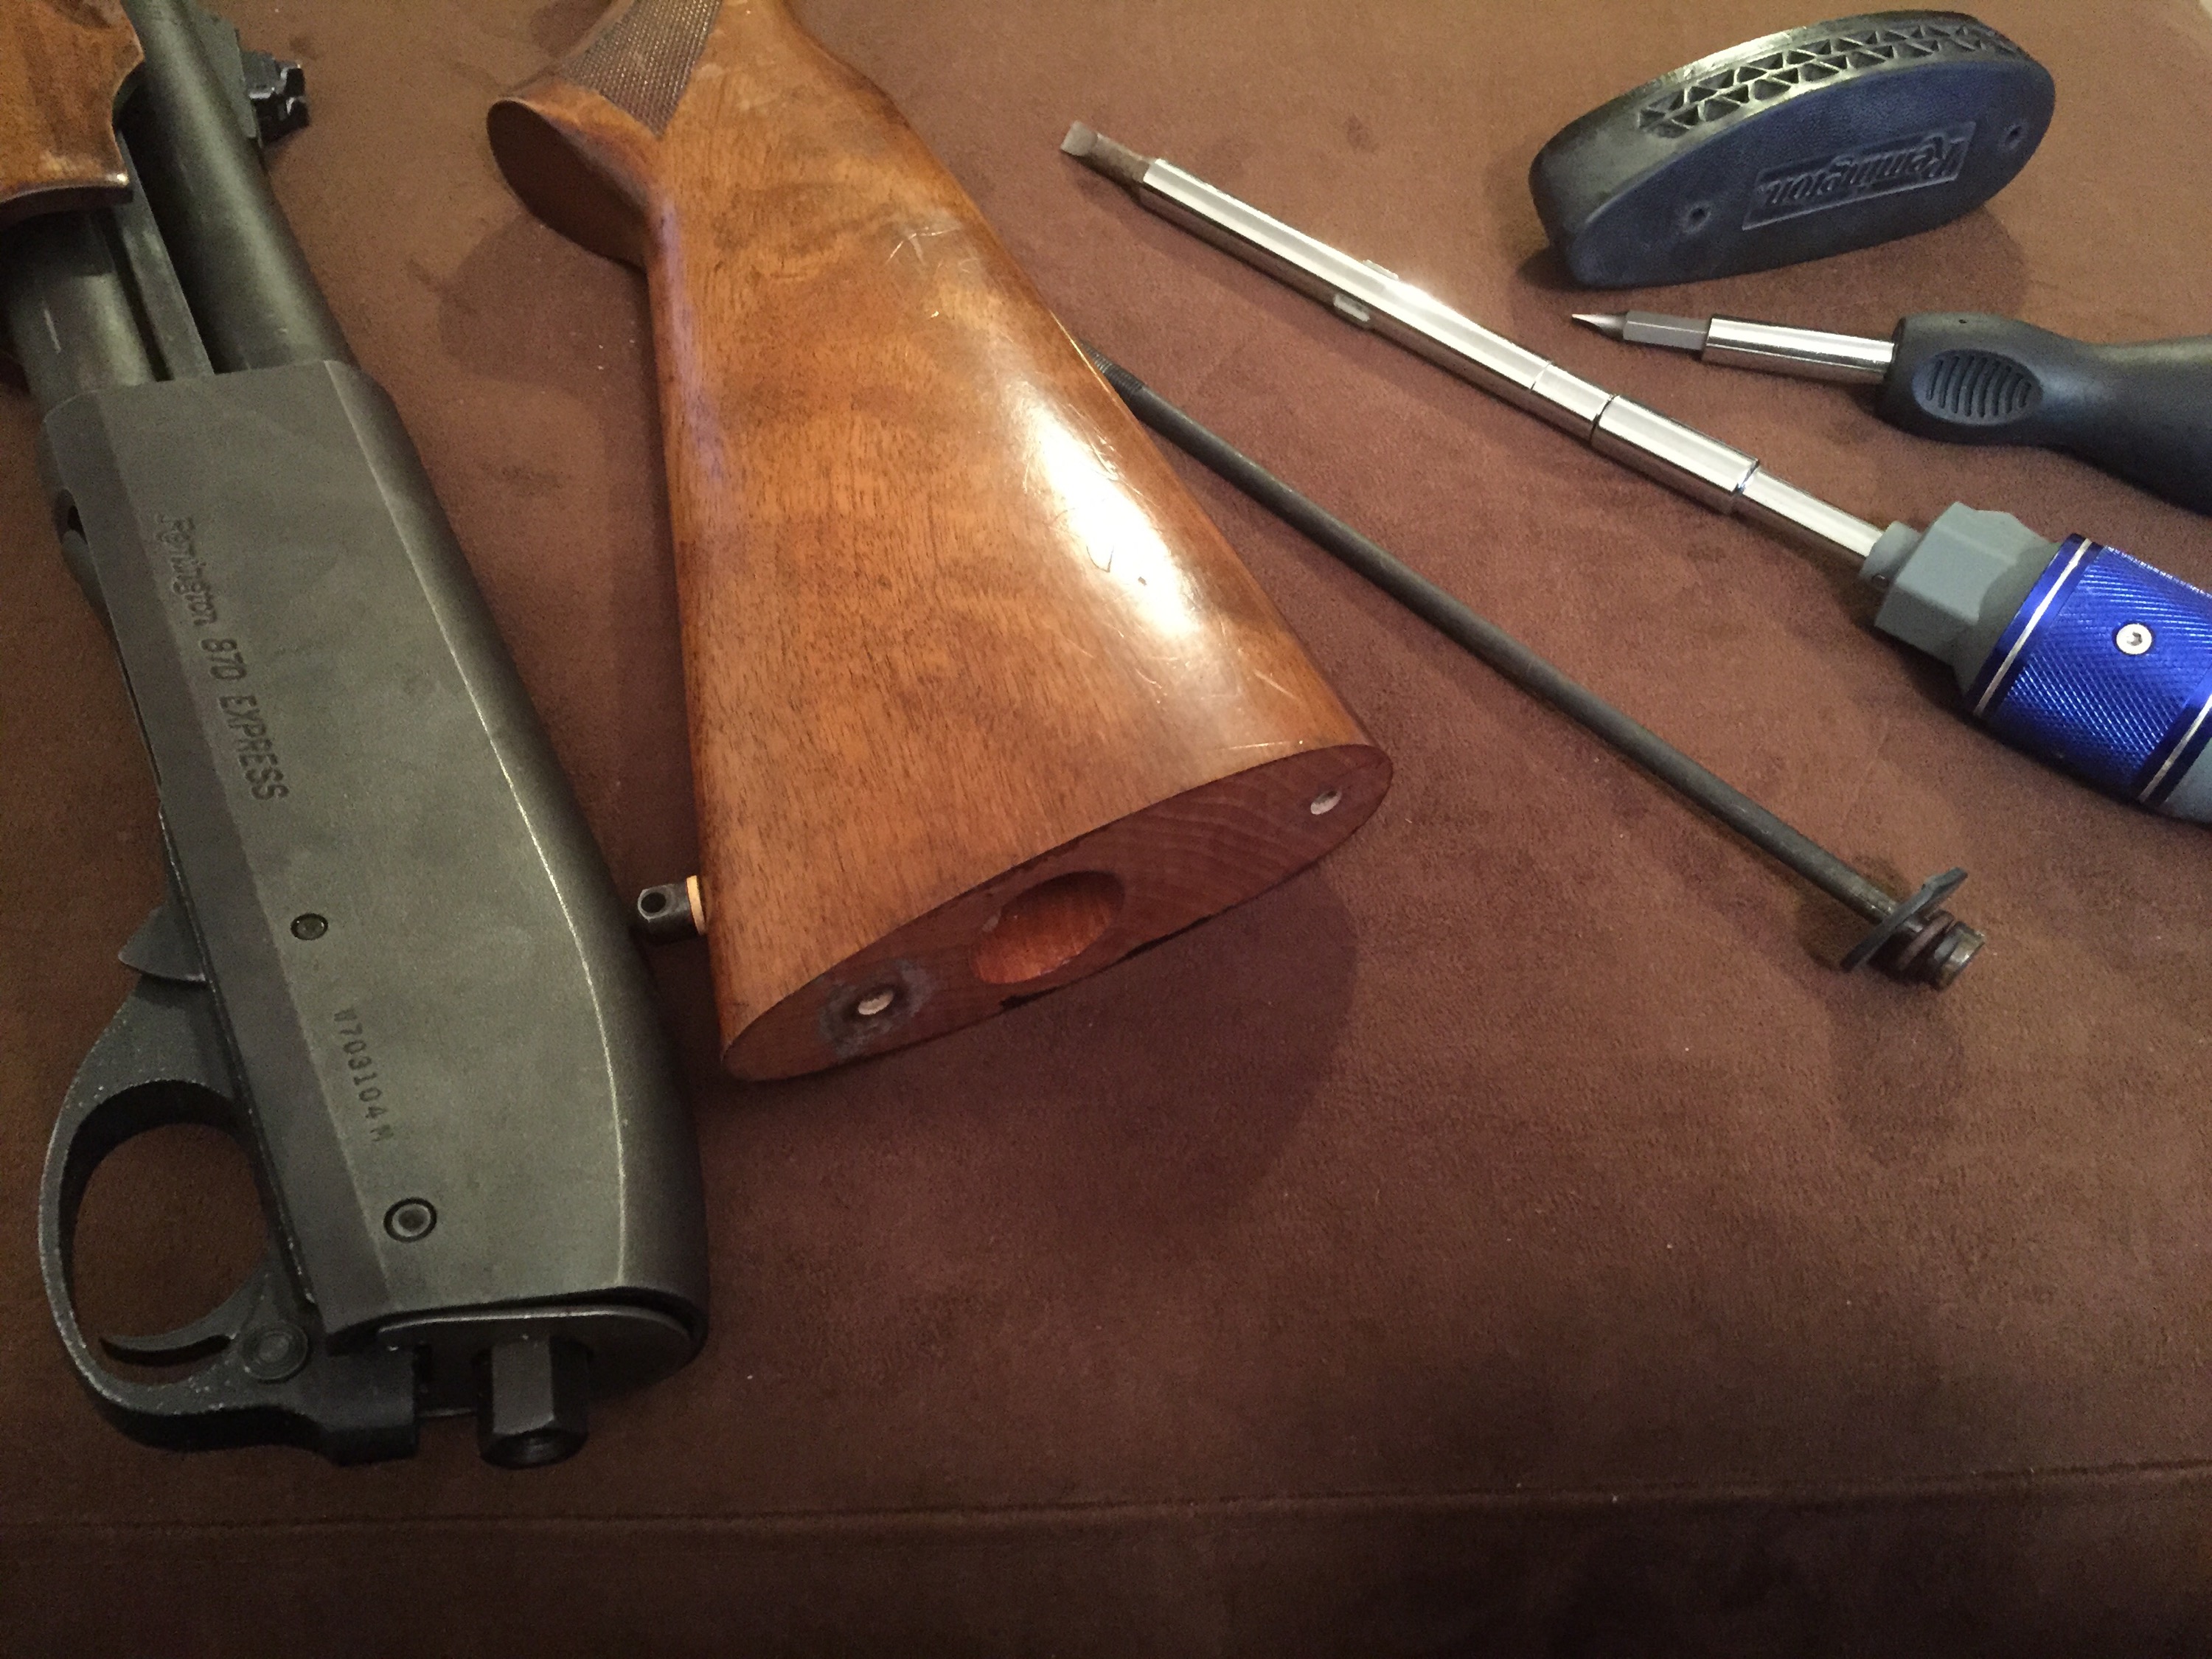
Underneath there is a deep hole with a single large screw that holds the stock on the weapon. This is where you need a long screwdriver.

It can be tricky to be sure you get the slot so take a look with a flashlight and take your time. Then the stock is off.
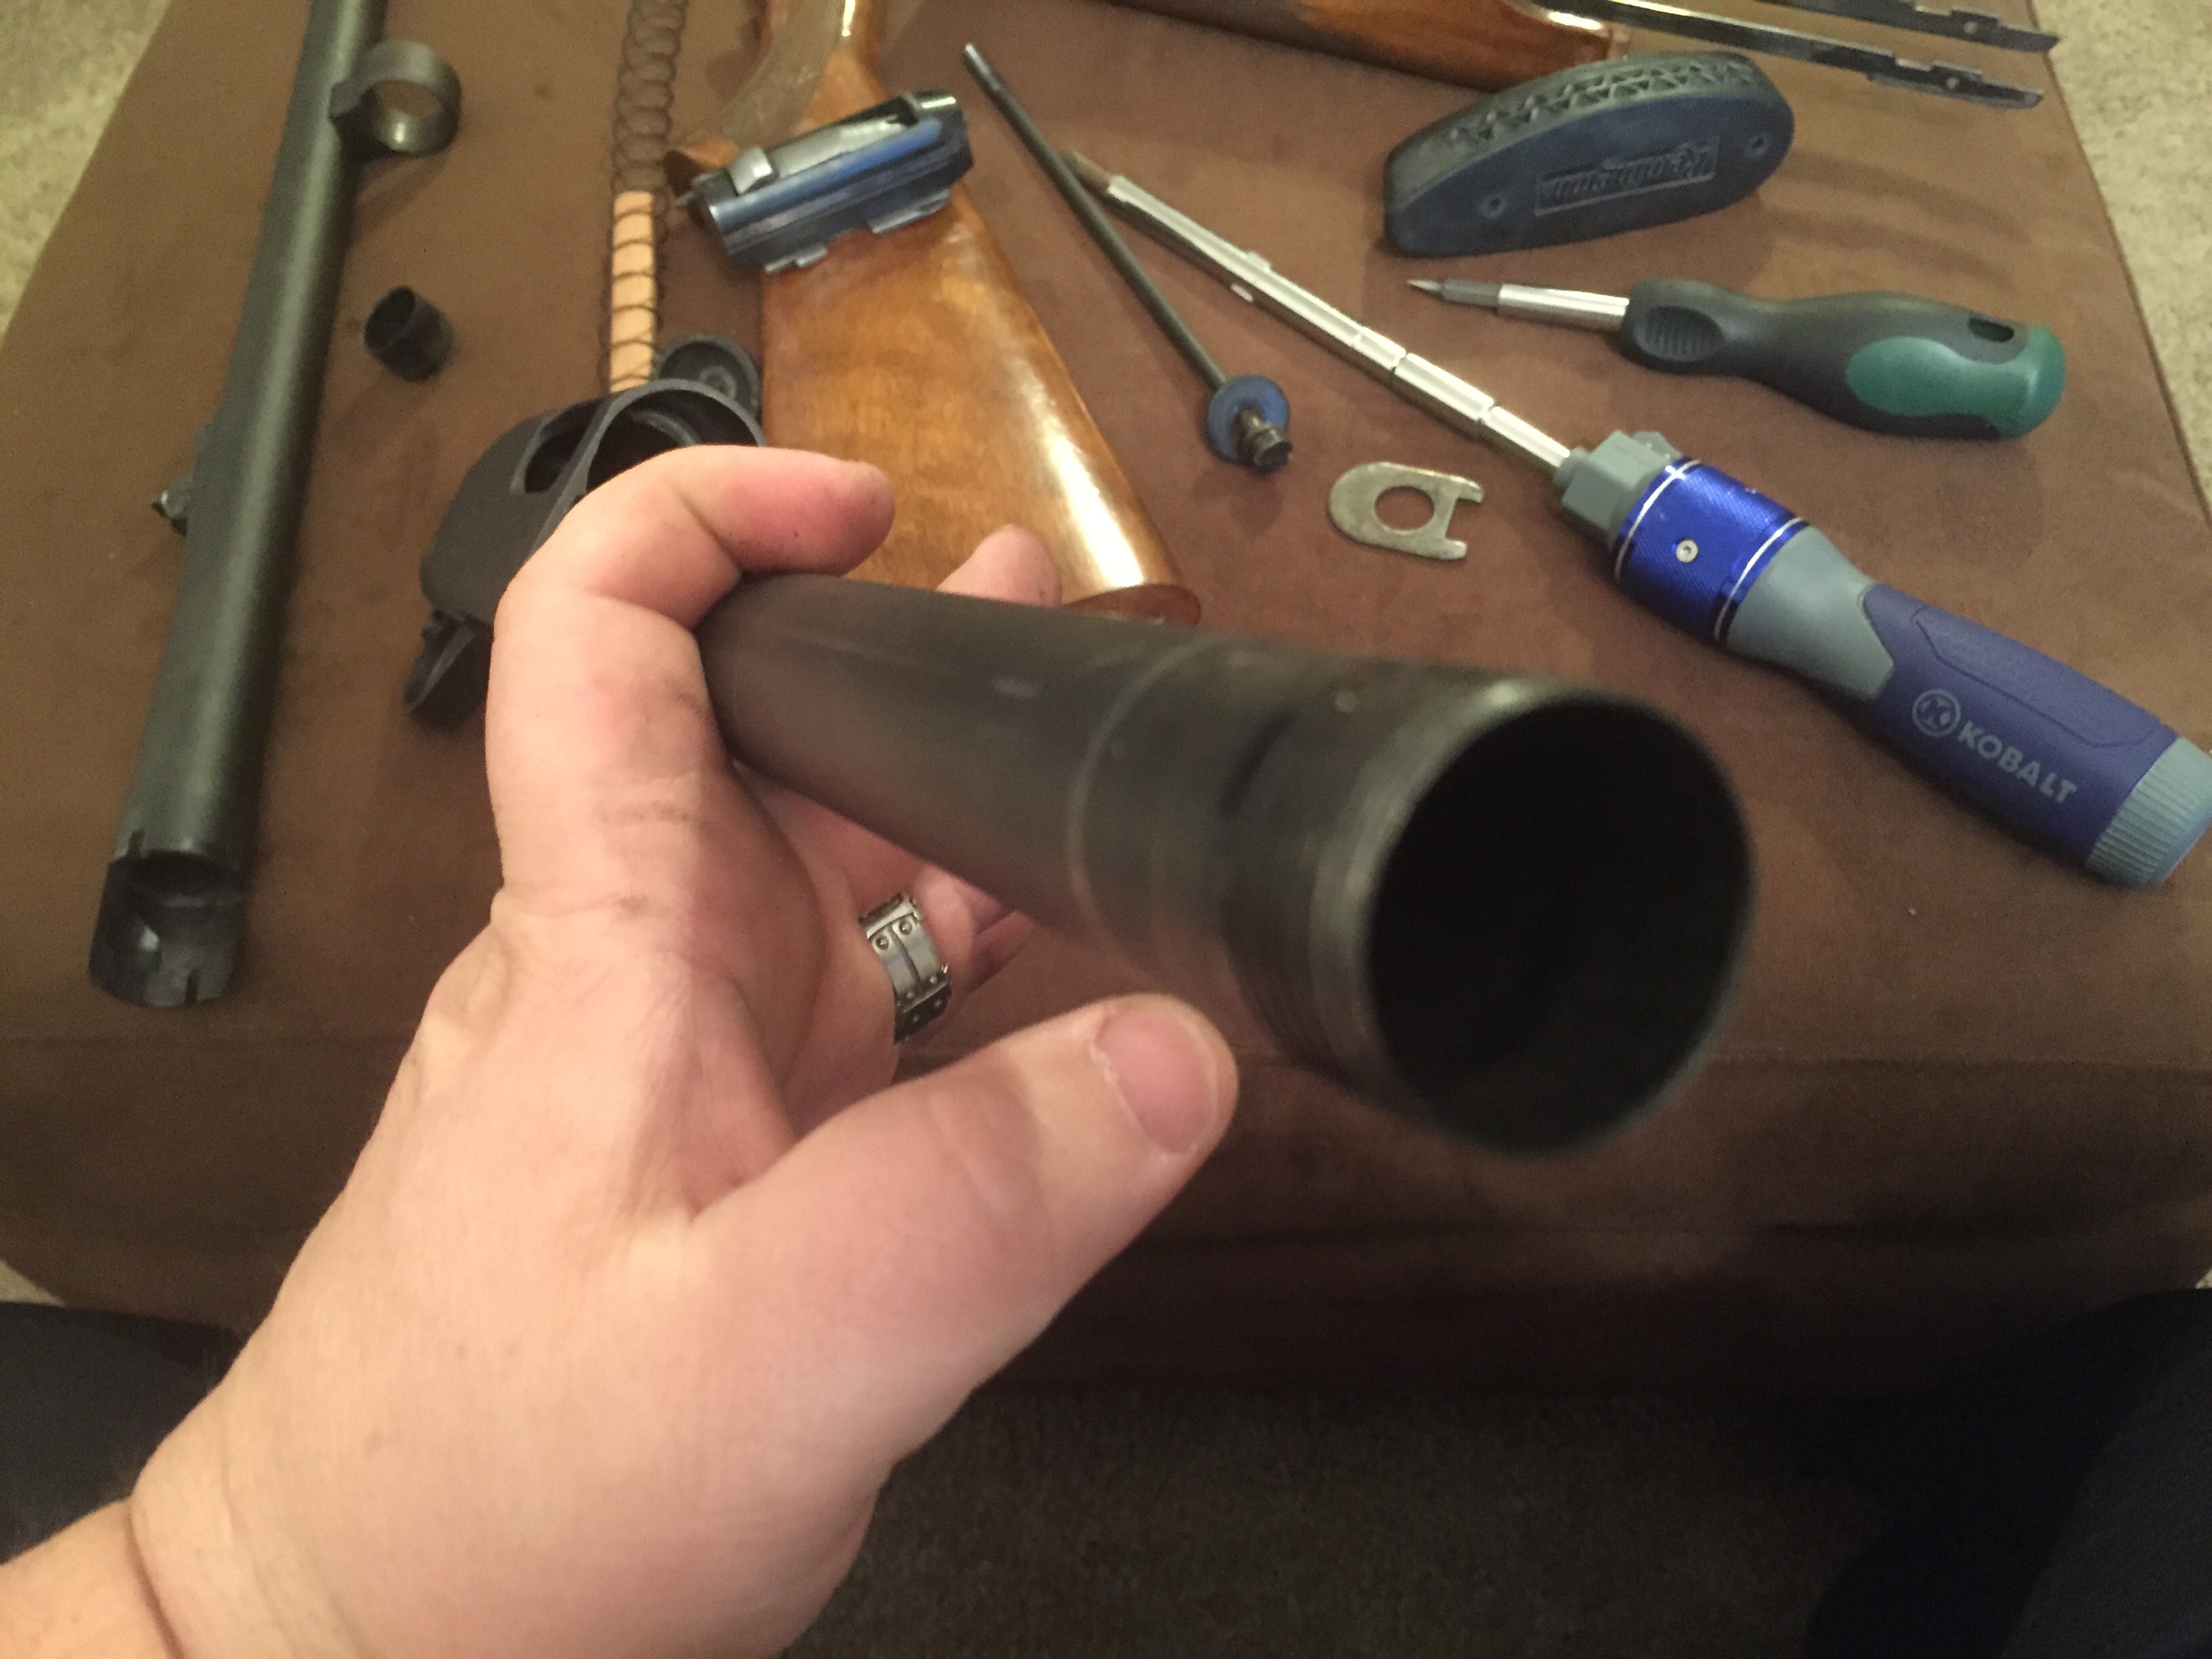
Next, I moved to the the magazine tube and unscrewed the cap, which should be hand tight.
As you unscrew the cap you may notice the cap feels like it’s bouncing at first. This is because the cap is retained by a ball baring on the cap. Once the cap is off you can remove the magazine spring and follower.
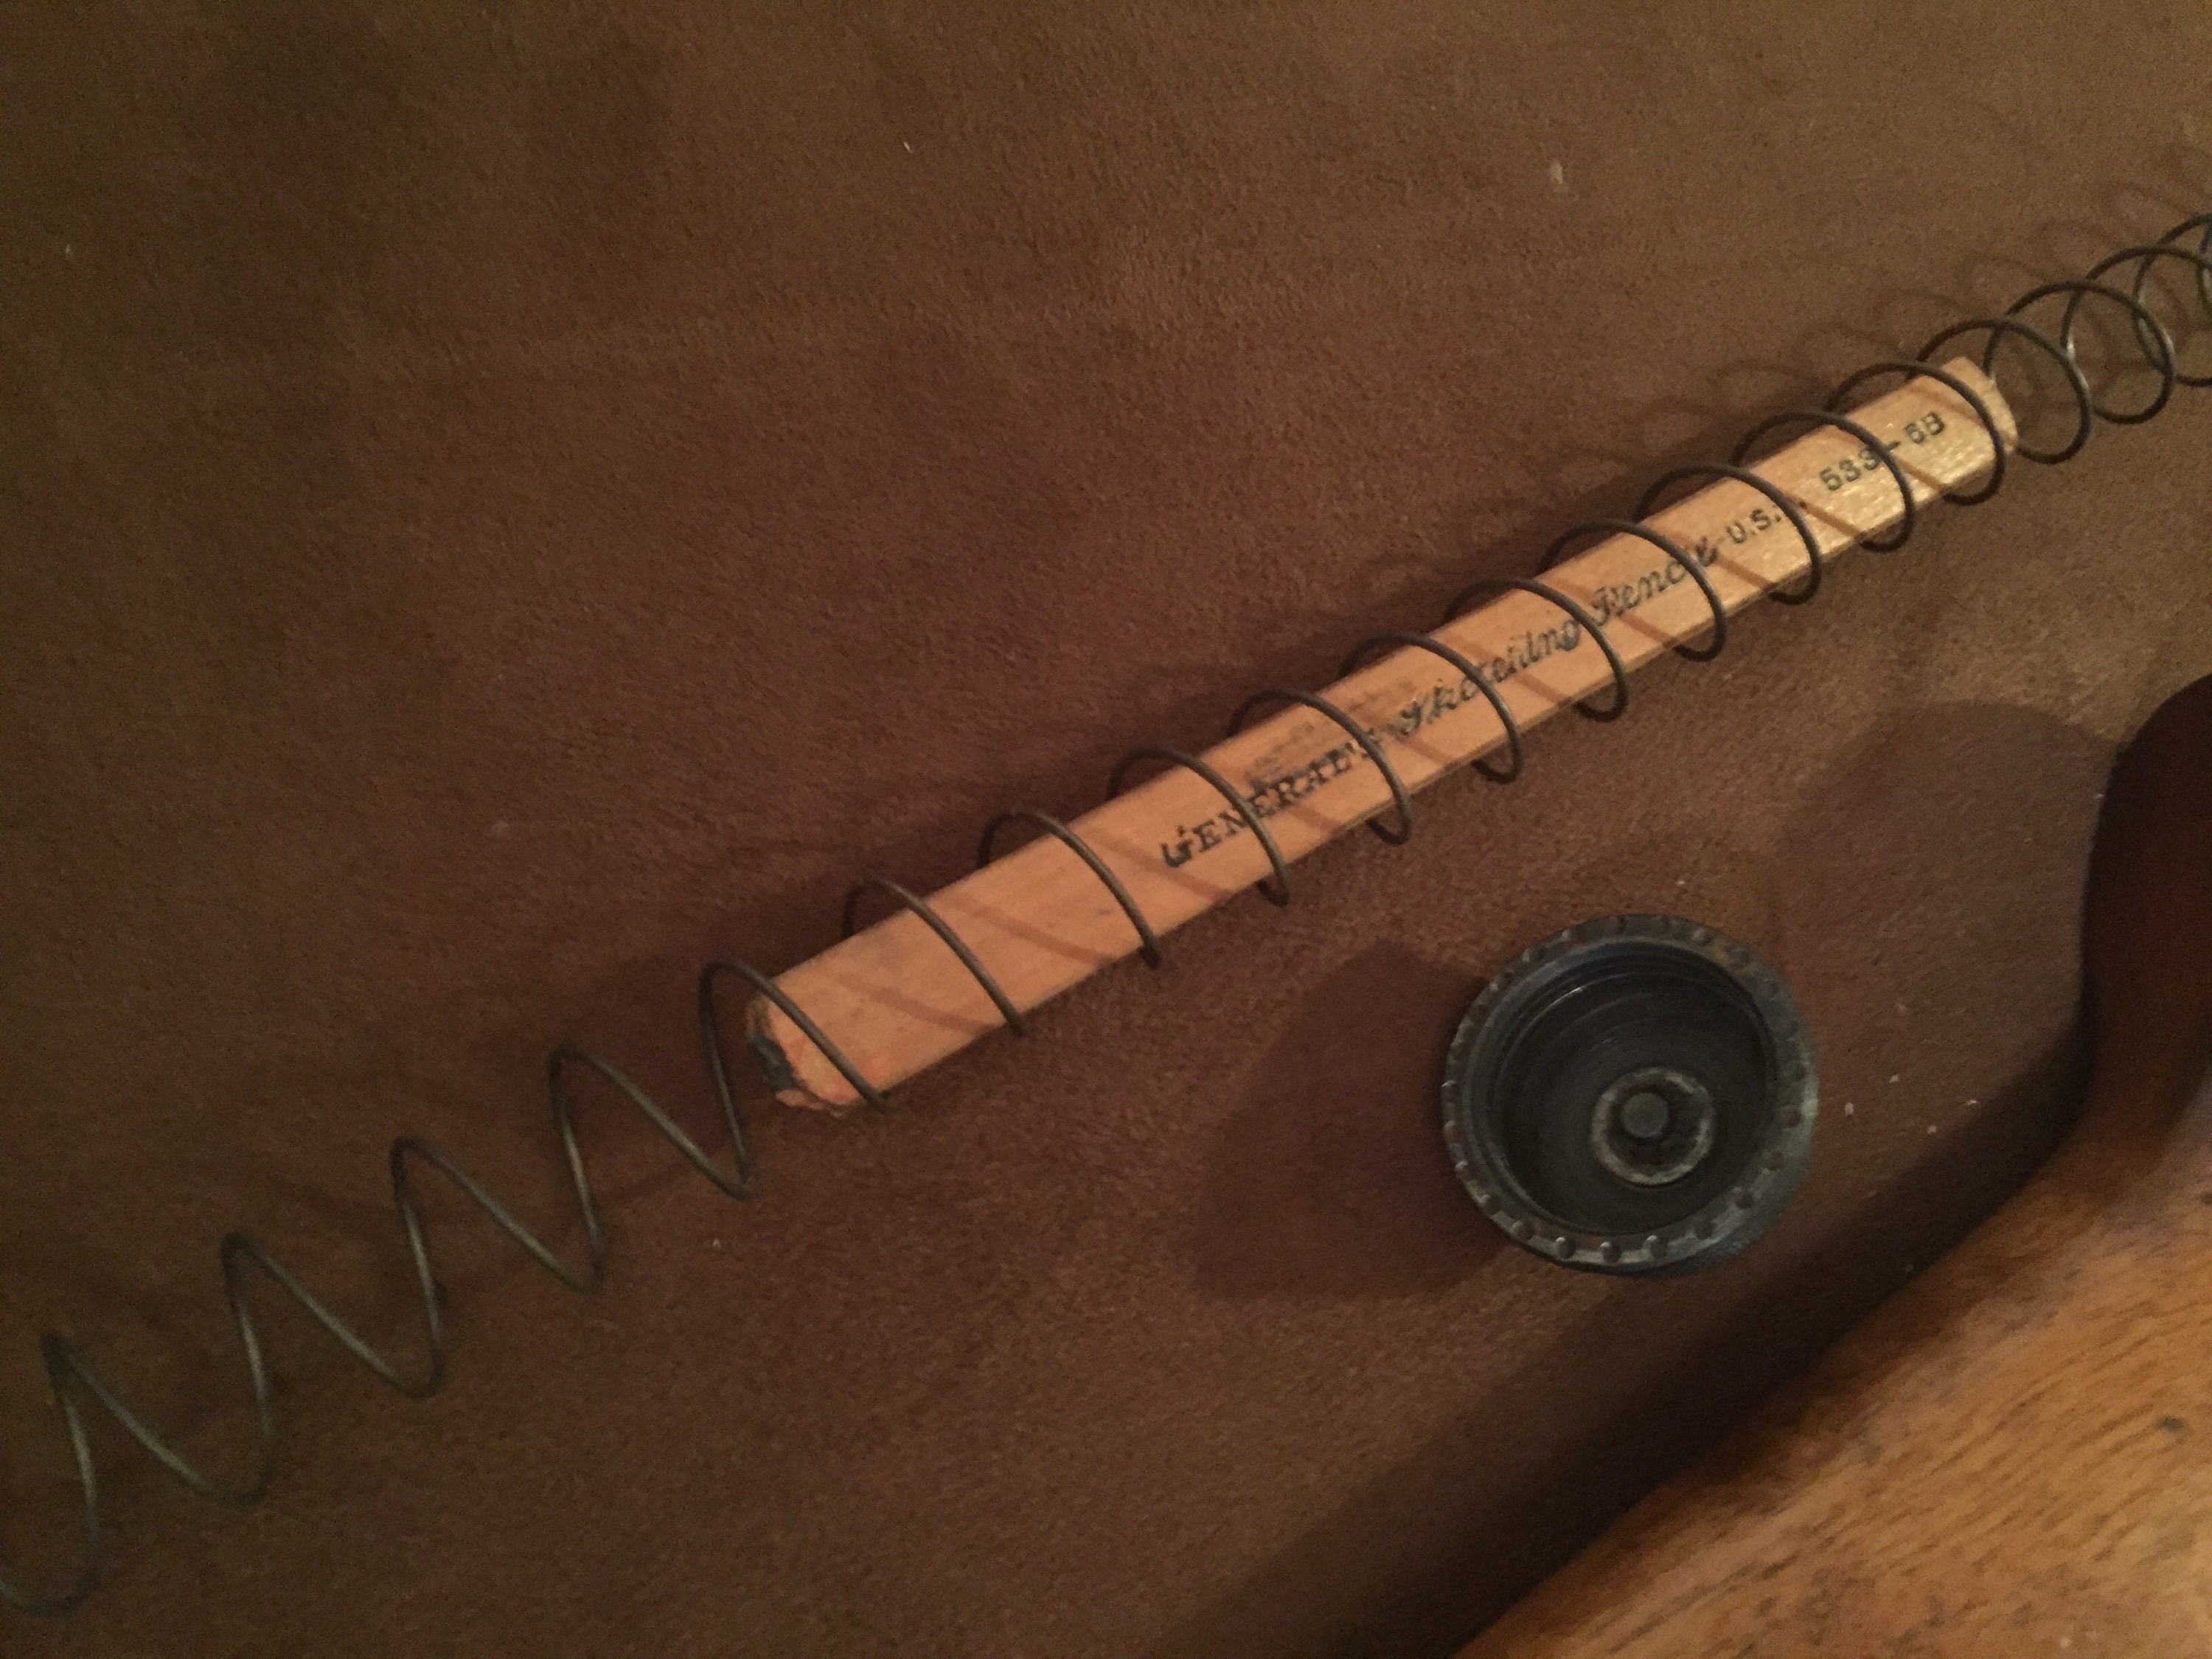
Yes, the plug that was in my magazine tube was a carpenter’s pencil. Remember to get the follower and set it aside now so it isn’t lost. At this point your barrel is free and can be removed by simply pulling it forward out of the receiver and over the end of the magazine tube.
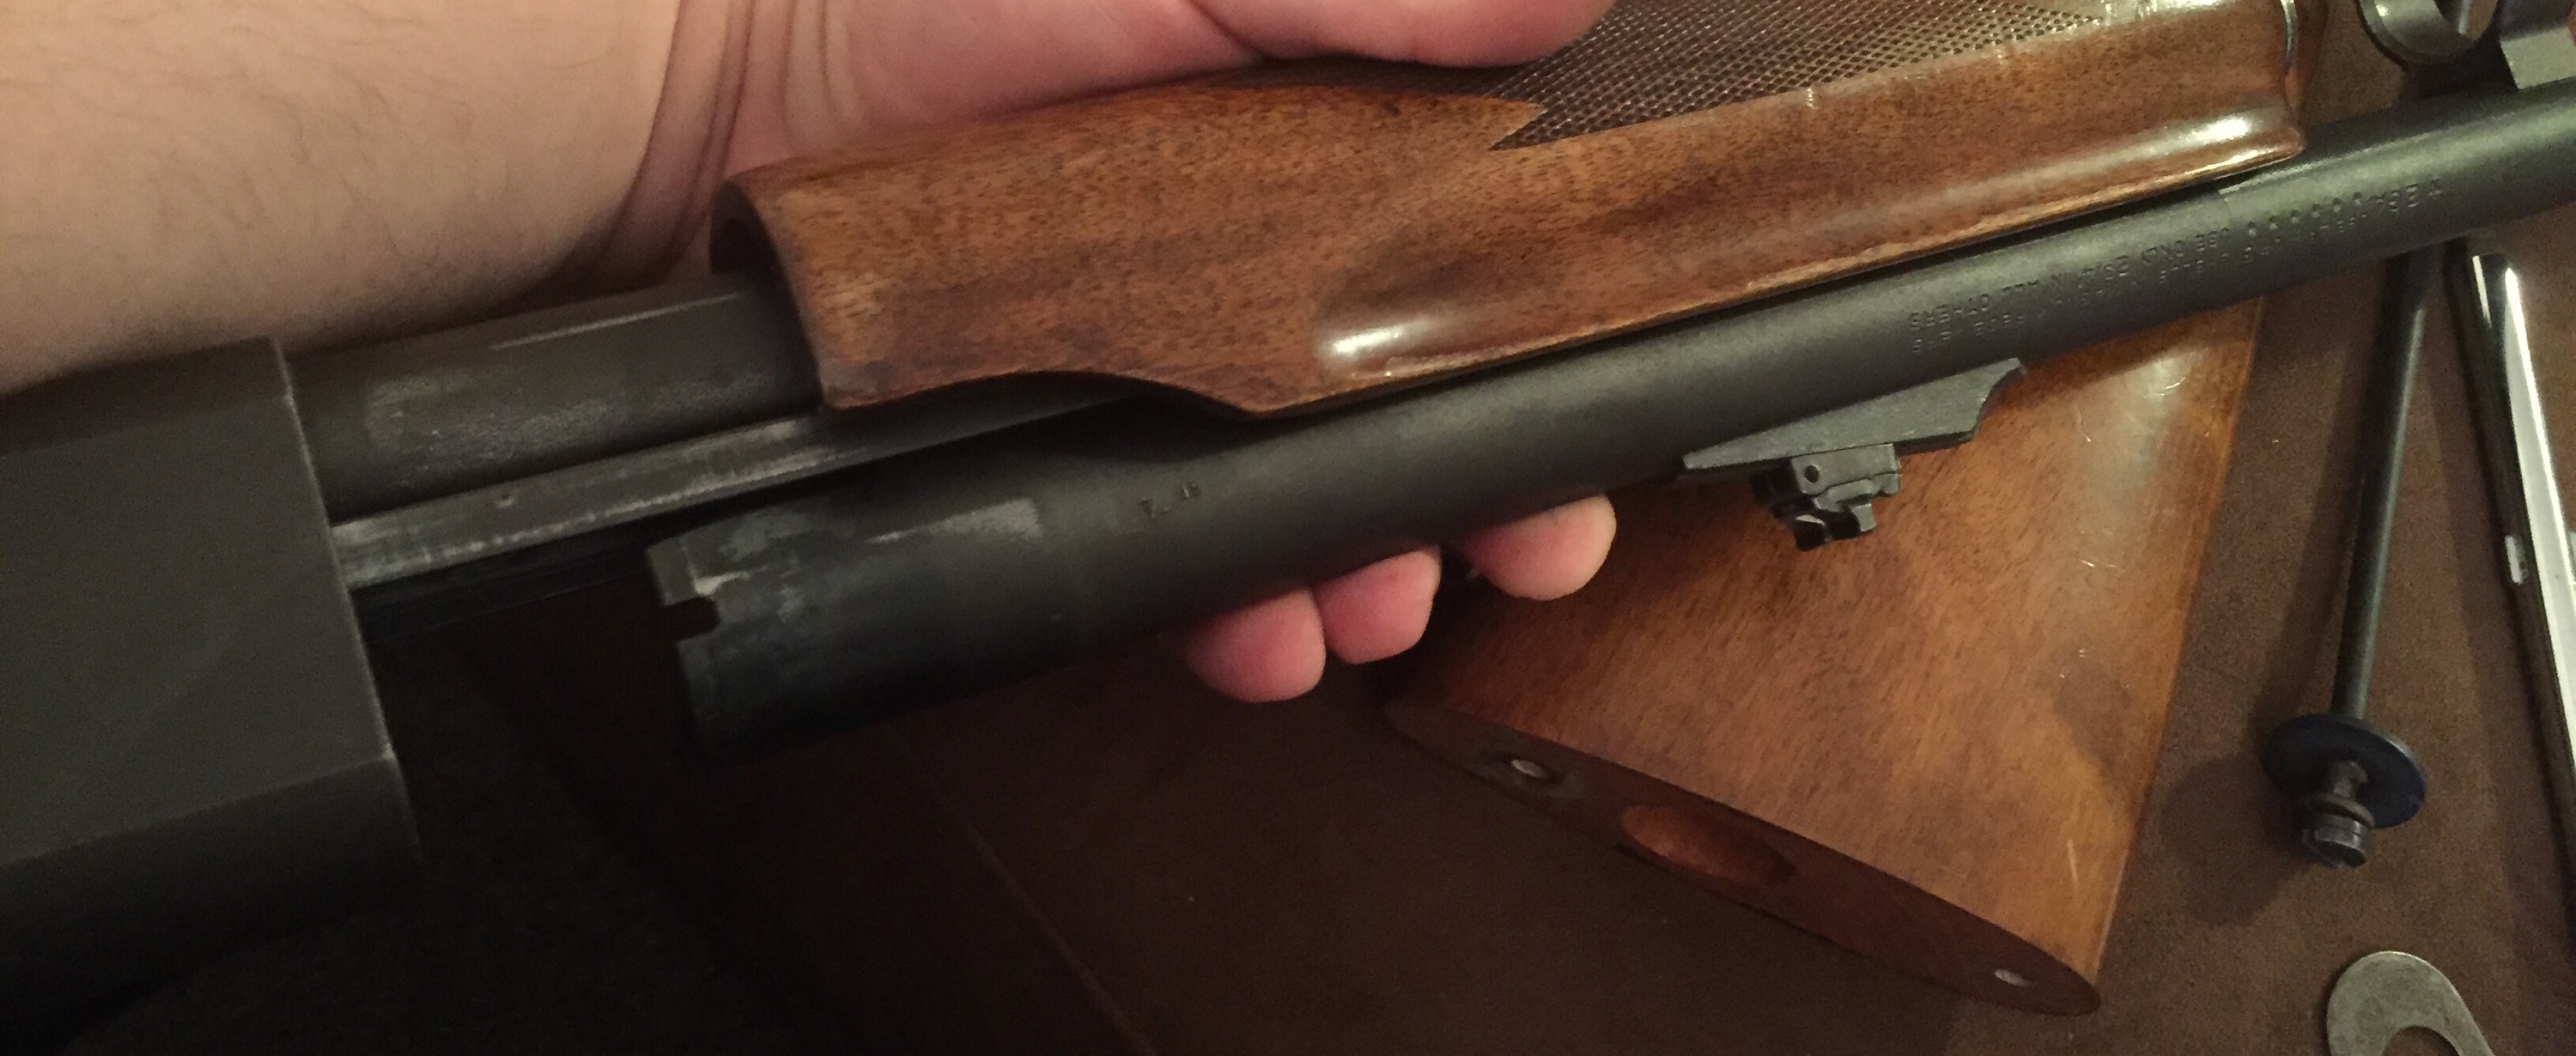
Next comes removing the foregrip and depending on the age of the gun you bought, this may go a couple different ways. First, you will need the forend wrench to remove the nut that holds the grip onto the forend slide tube. For me there was no possibility of getting the wood grip off the forend slide tube. With a newer version the grip would be tight but will likely slide off with a strong pull. If the grip comes off no further disassembly is needed. If not you can remove the slide tube and all by pumping the action part way and depressing the magazine catch inside the receiver before pulling the pump forward again.
This will release the forend but be aware the bolt assembly will come with it.
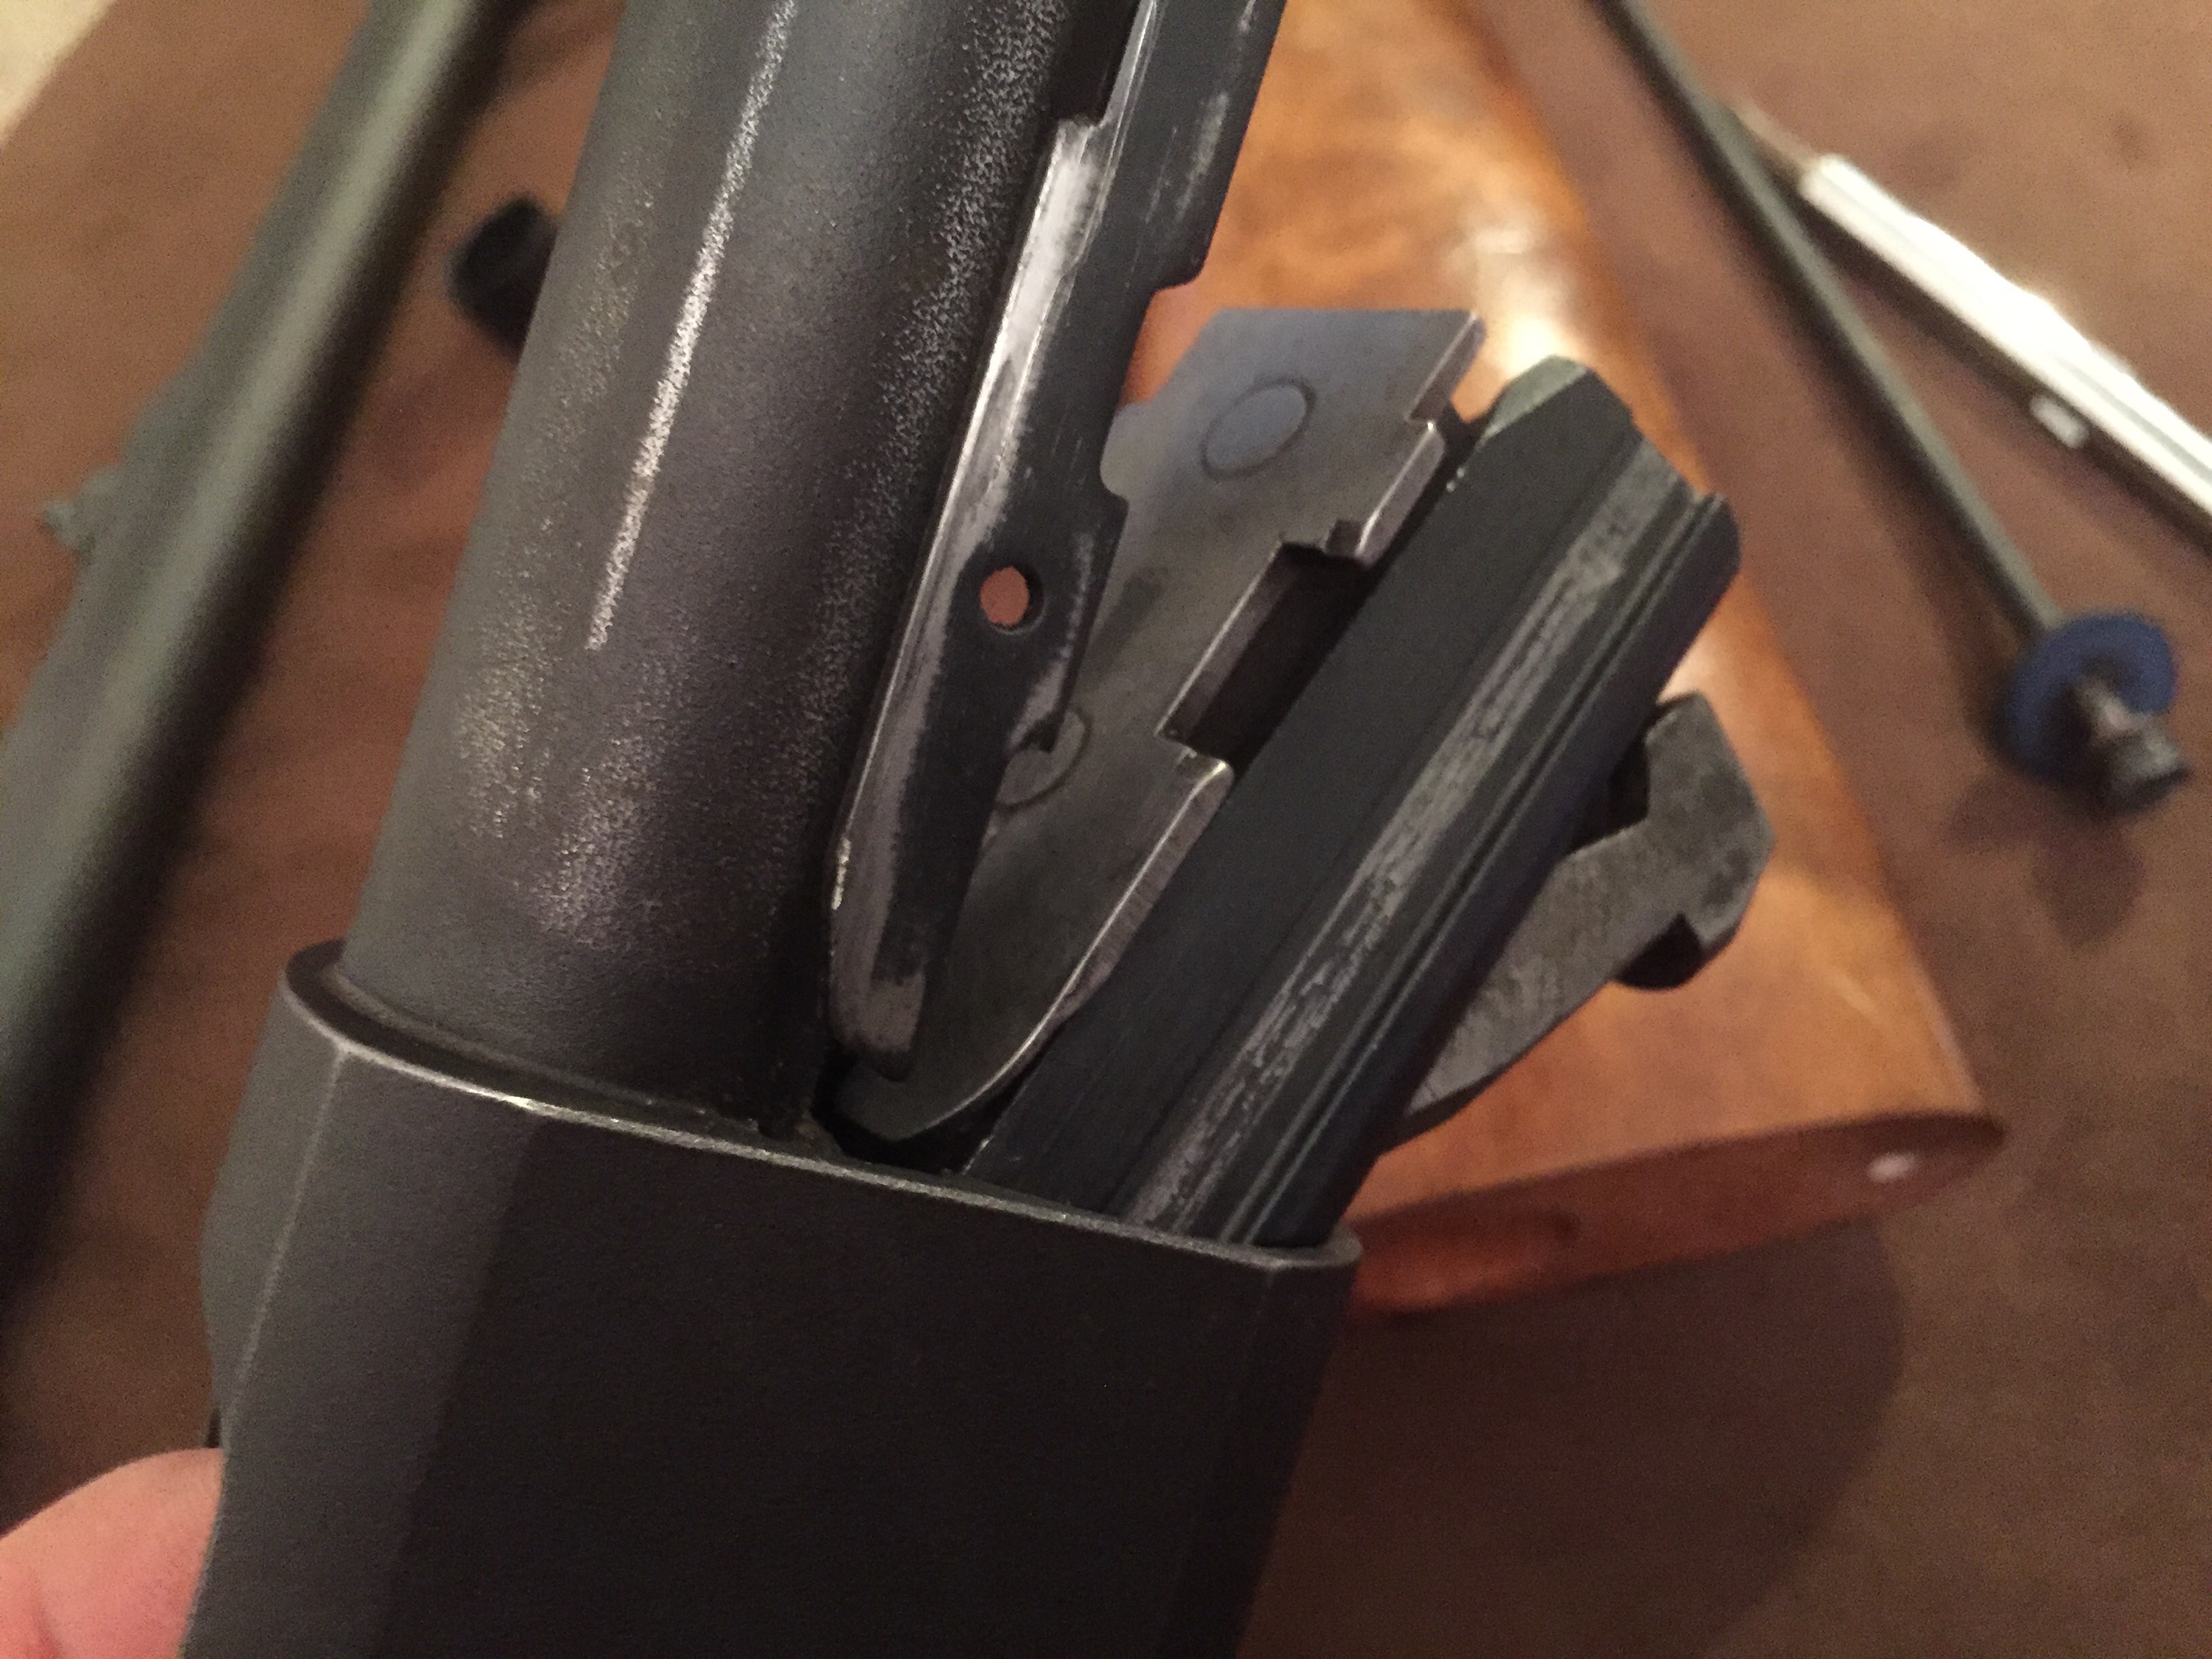
Just pay attention so you know what goes where on reassembly. I had a forearm slide tube from my previous build and was able to simply swap things out.
For most, this is where you stop, you can begin assembly with upgraded parts. Not for me though, I wanted to do a total makeover. That meant refinishing the weapon. So after the bolt and forend were removed I popped out the two trigger retention pins and removed the rest of the internals.

For the refinishing I chose to try out DuraCoat’s Dura Bake product. The Dura Bake comes in the selected color with a scratch pad, an aerosol can of degreaser and an aerosol can of DuraCoat paint. My best advice plan ahead. Before doing anything I set up a spray rack for myself and a way to hang every part I was to coat. For the spray rack I went to a hardware store and bought a $6 wire closet shelf and had them cut it in half. I picked two trees that were well away from everything (overspray can travel) and tied the racks between them, one high and one low so I could spray tops and bottoms easily.
To hang the parts I wanted wire with no plastic coating since I would eventually be baking the parts in the oven. My best choice was old wire hangers. Be sure to fish you wire through holes in a way that will allow you to spray around them. You don’t want to have well defined bare spots in the finish and you don’t want the wire to scrape the wet paint.
Per the instructions use the scratch pad to rough up the surface so the paint has something to which it can adhere. Since the finish on my weapon was parkerized I didn’t have much work to do. I just hit the spots with corrosion and a quick overall rub down. After this use the degreaser on everything to be sure there is no oil, grease or debris left that can foul up the paint. Once it’s degreased, don’t touch the parts. Use your wire to move things around (fingerprints leave oil behind) unless you’re wearing gloves.
As with most spray painting situations, slow is fast. Spray a slow, even, light coat on each part. I planned on two coats minimum with these parts. Read the instructions on drying time and how to cure the paint. I decided to bake all the parts at 350 degrees for 15 minutes for everything except the trigger components.
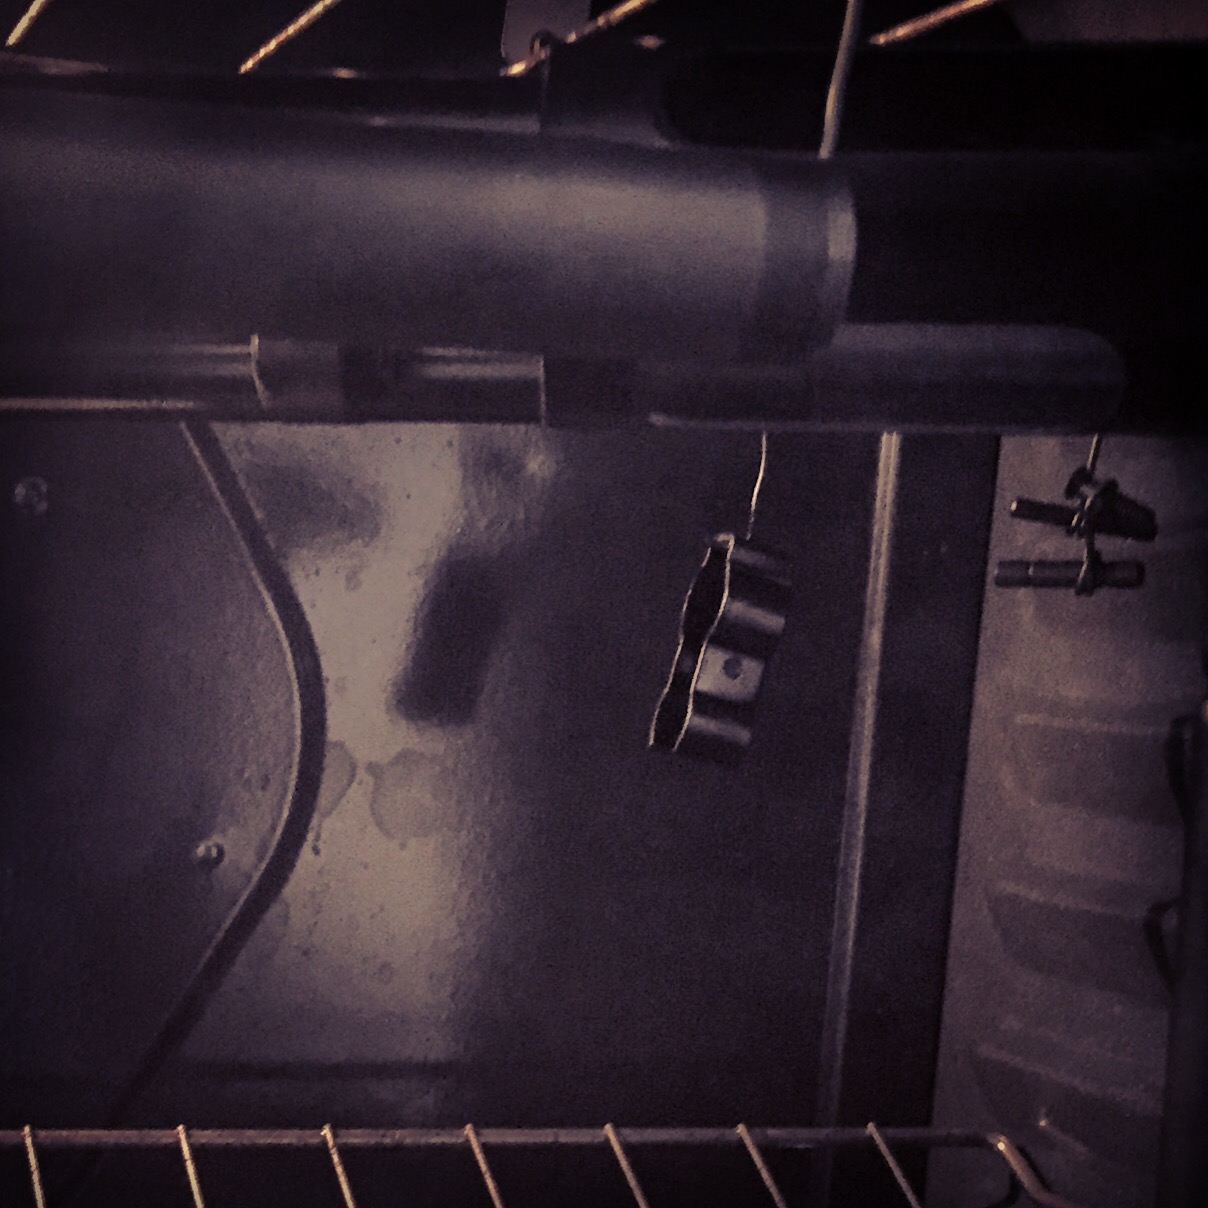
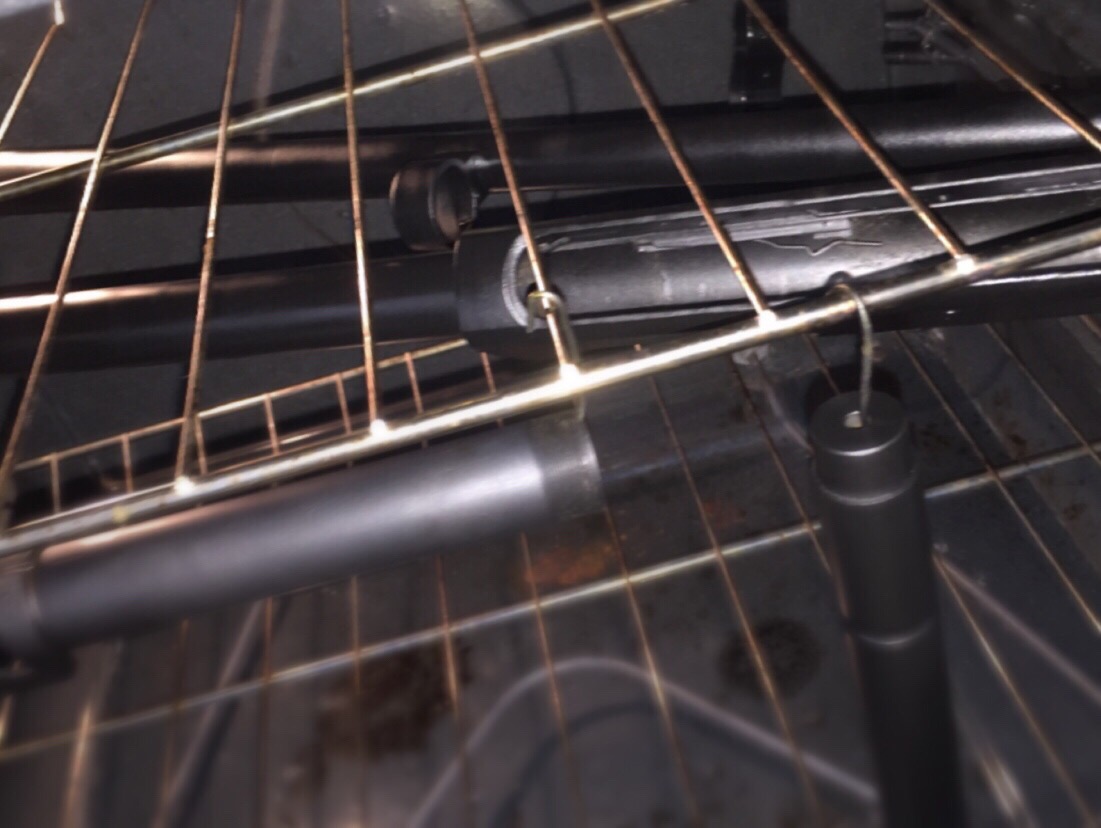
Being overly cautious I didn’t want to expose the springs to that much heat. So I baked everything quickly and started on coat two. At that point, the trigger components got their only coat and everything went in to bake for over 3 hours at a much lower temperature. Repeat until you are happy with the finish. The worst case is sanding it down and starting over.
REASSEMBLY
With reassembly it was finally time to put the CAA parts into play. going in reverse order, the trigger went in first with the two retention pins. Next it was time for the forend slide tube to go in. The bolt assembly sits on top and fits into the groves on the tube arms with the firing pin facing front. Reach into the receiver and depress the same magazine catch to allow the arms to pass. Once the slide tube is in place you can slide the new CAA forend grip over the slide tube; the fit should be somewhat tight. Once the new grip is in place you’ll need to replace the nut on the slide tube and tighten with the forend wrench. At this point, you want to pump the action open to allow the easiest entry for the barrel. Put the barrel back into the receiver and slide the socket under the barrel over the magazine tube until it is well seated. Now place the magazine follower in the magazine tube with the flat end toward the receiver and either replace your magazine spring or add you new magazine spring if adding an extension. For me it was the extension, which can now be screwed into place (or the original end cap if not). After the extension is added you will want to add the magazine tube extension support clamp. This will attach the tube to the barrel and support the weight of the extension. Be careful putting this on and try to spread it so it doesn’t scratch your new finish. Once you are happy with placement it’s secured with a single screw. We can now move to the stock.
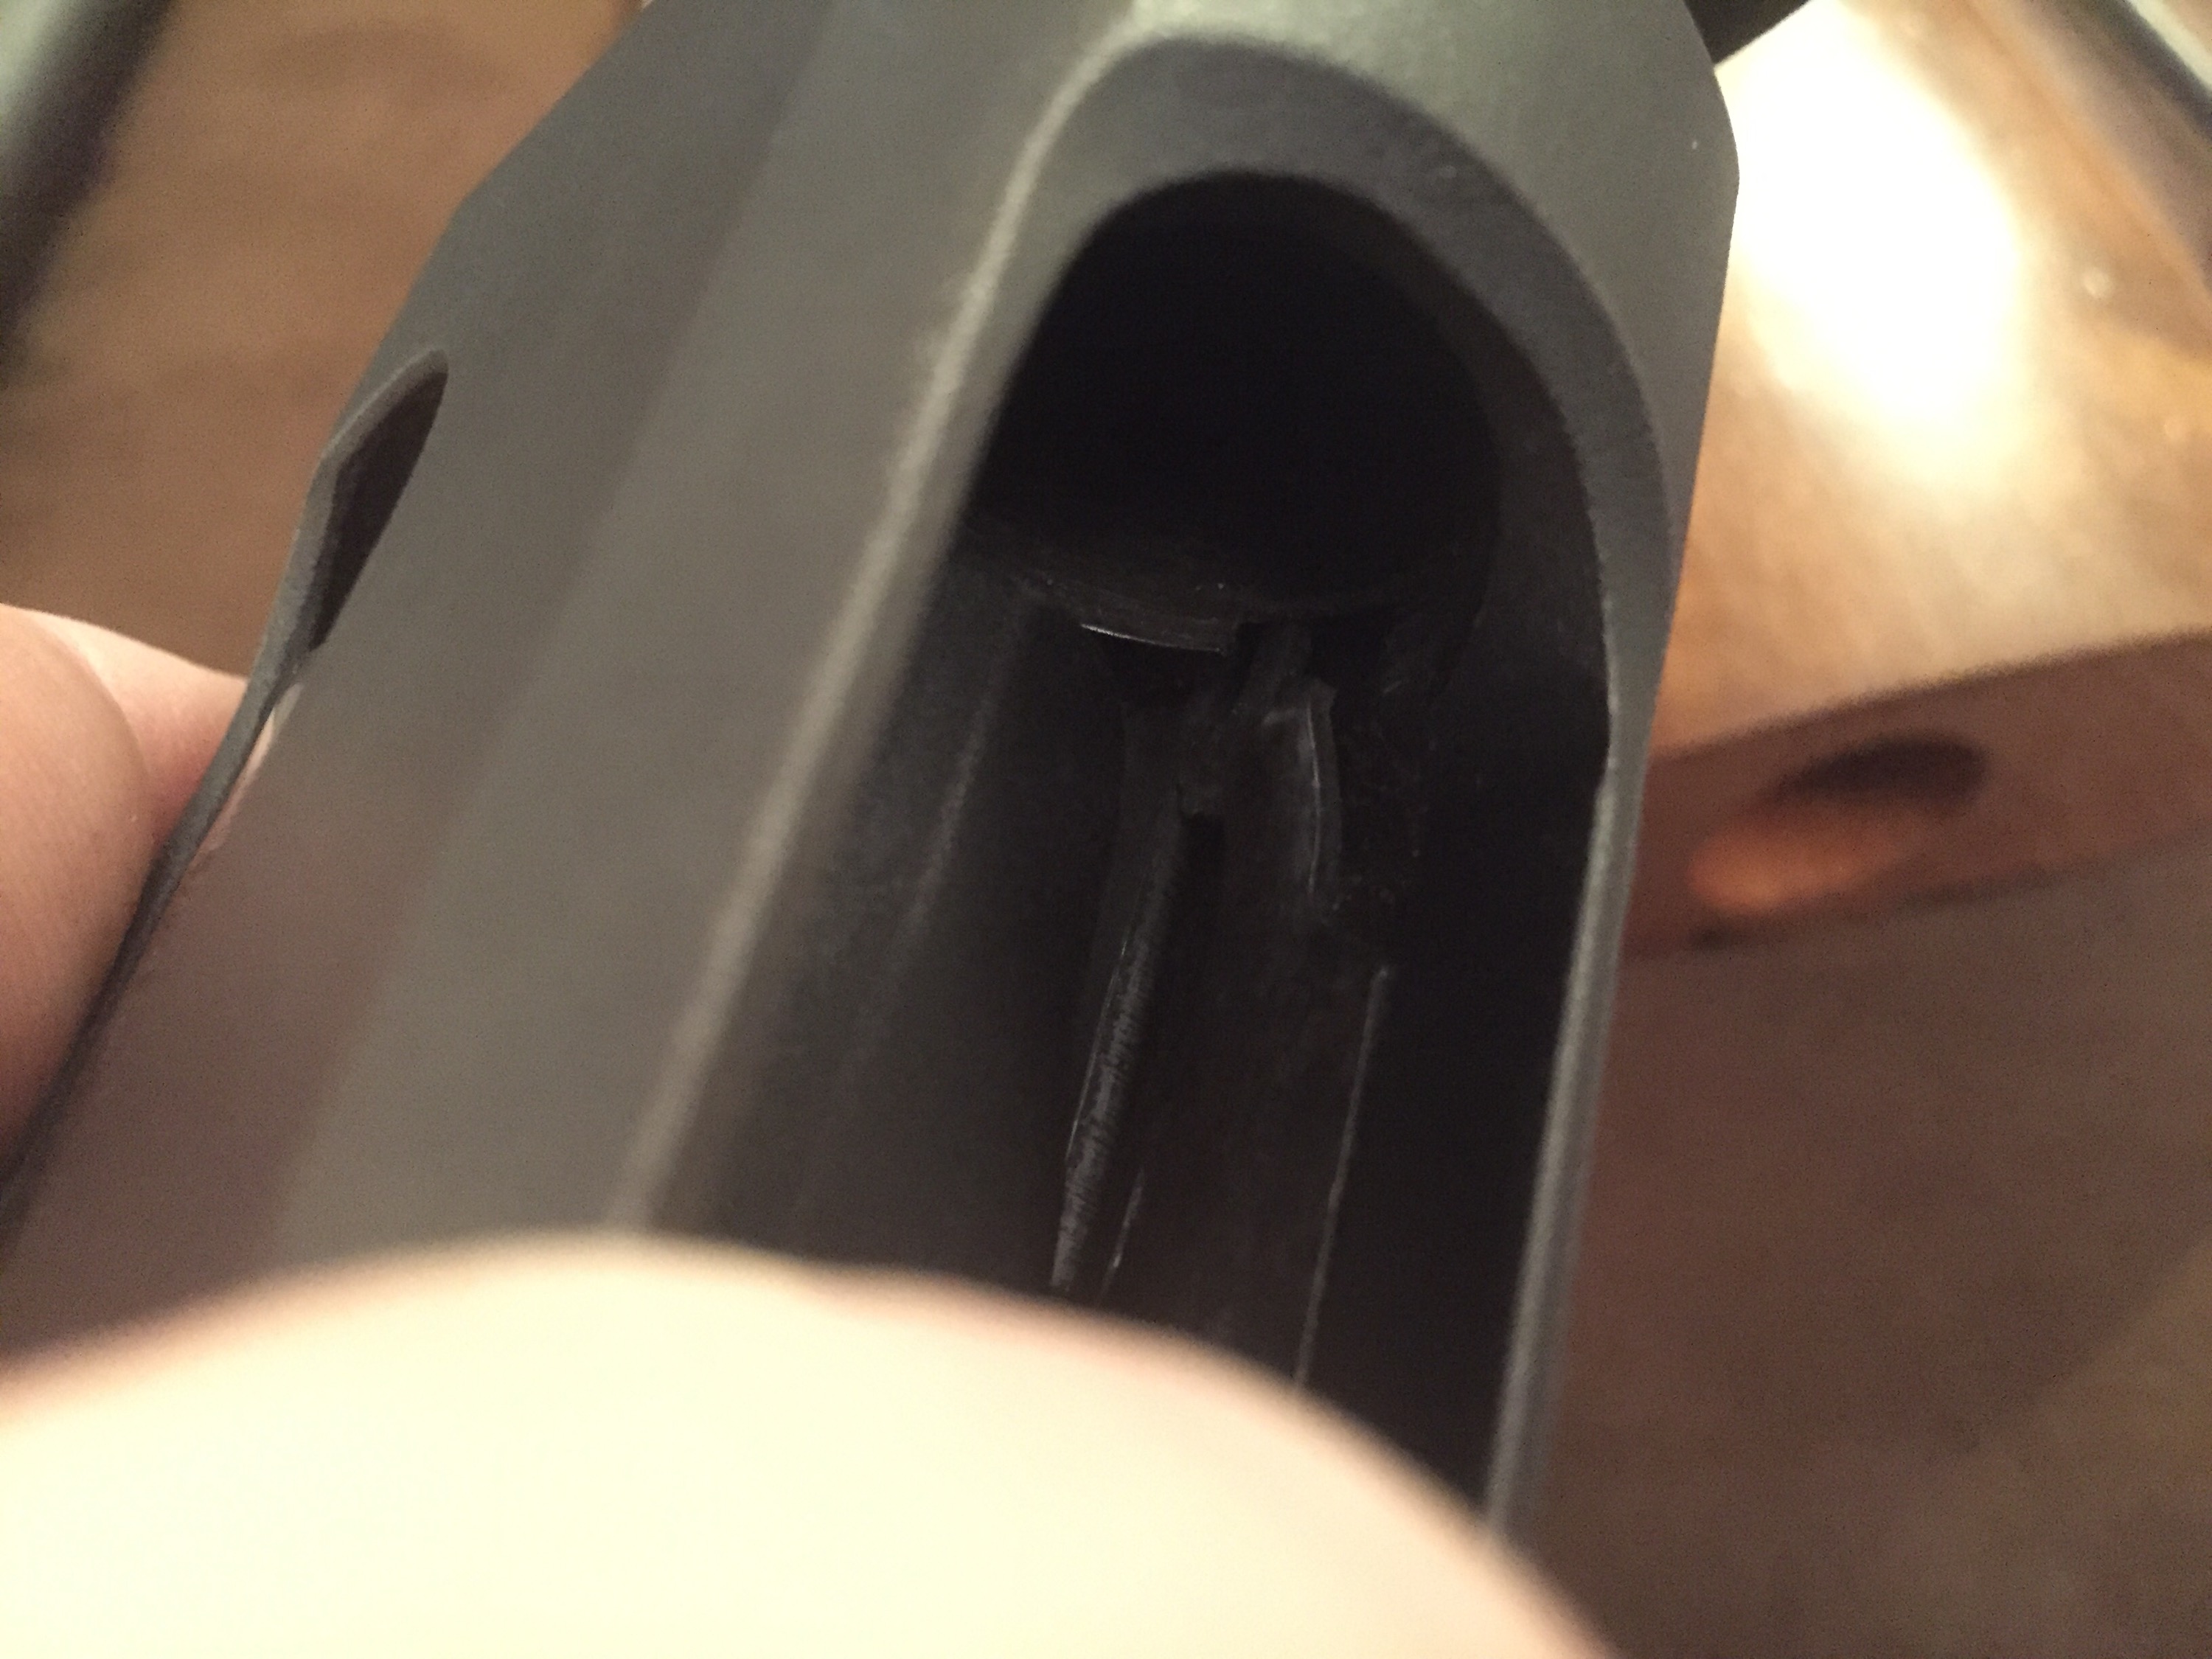
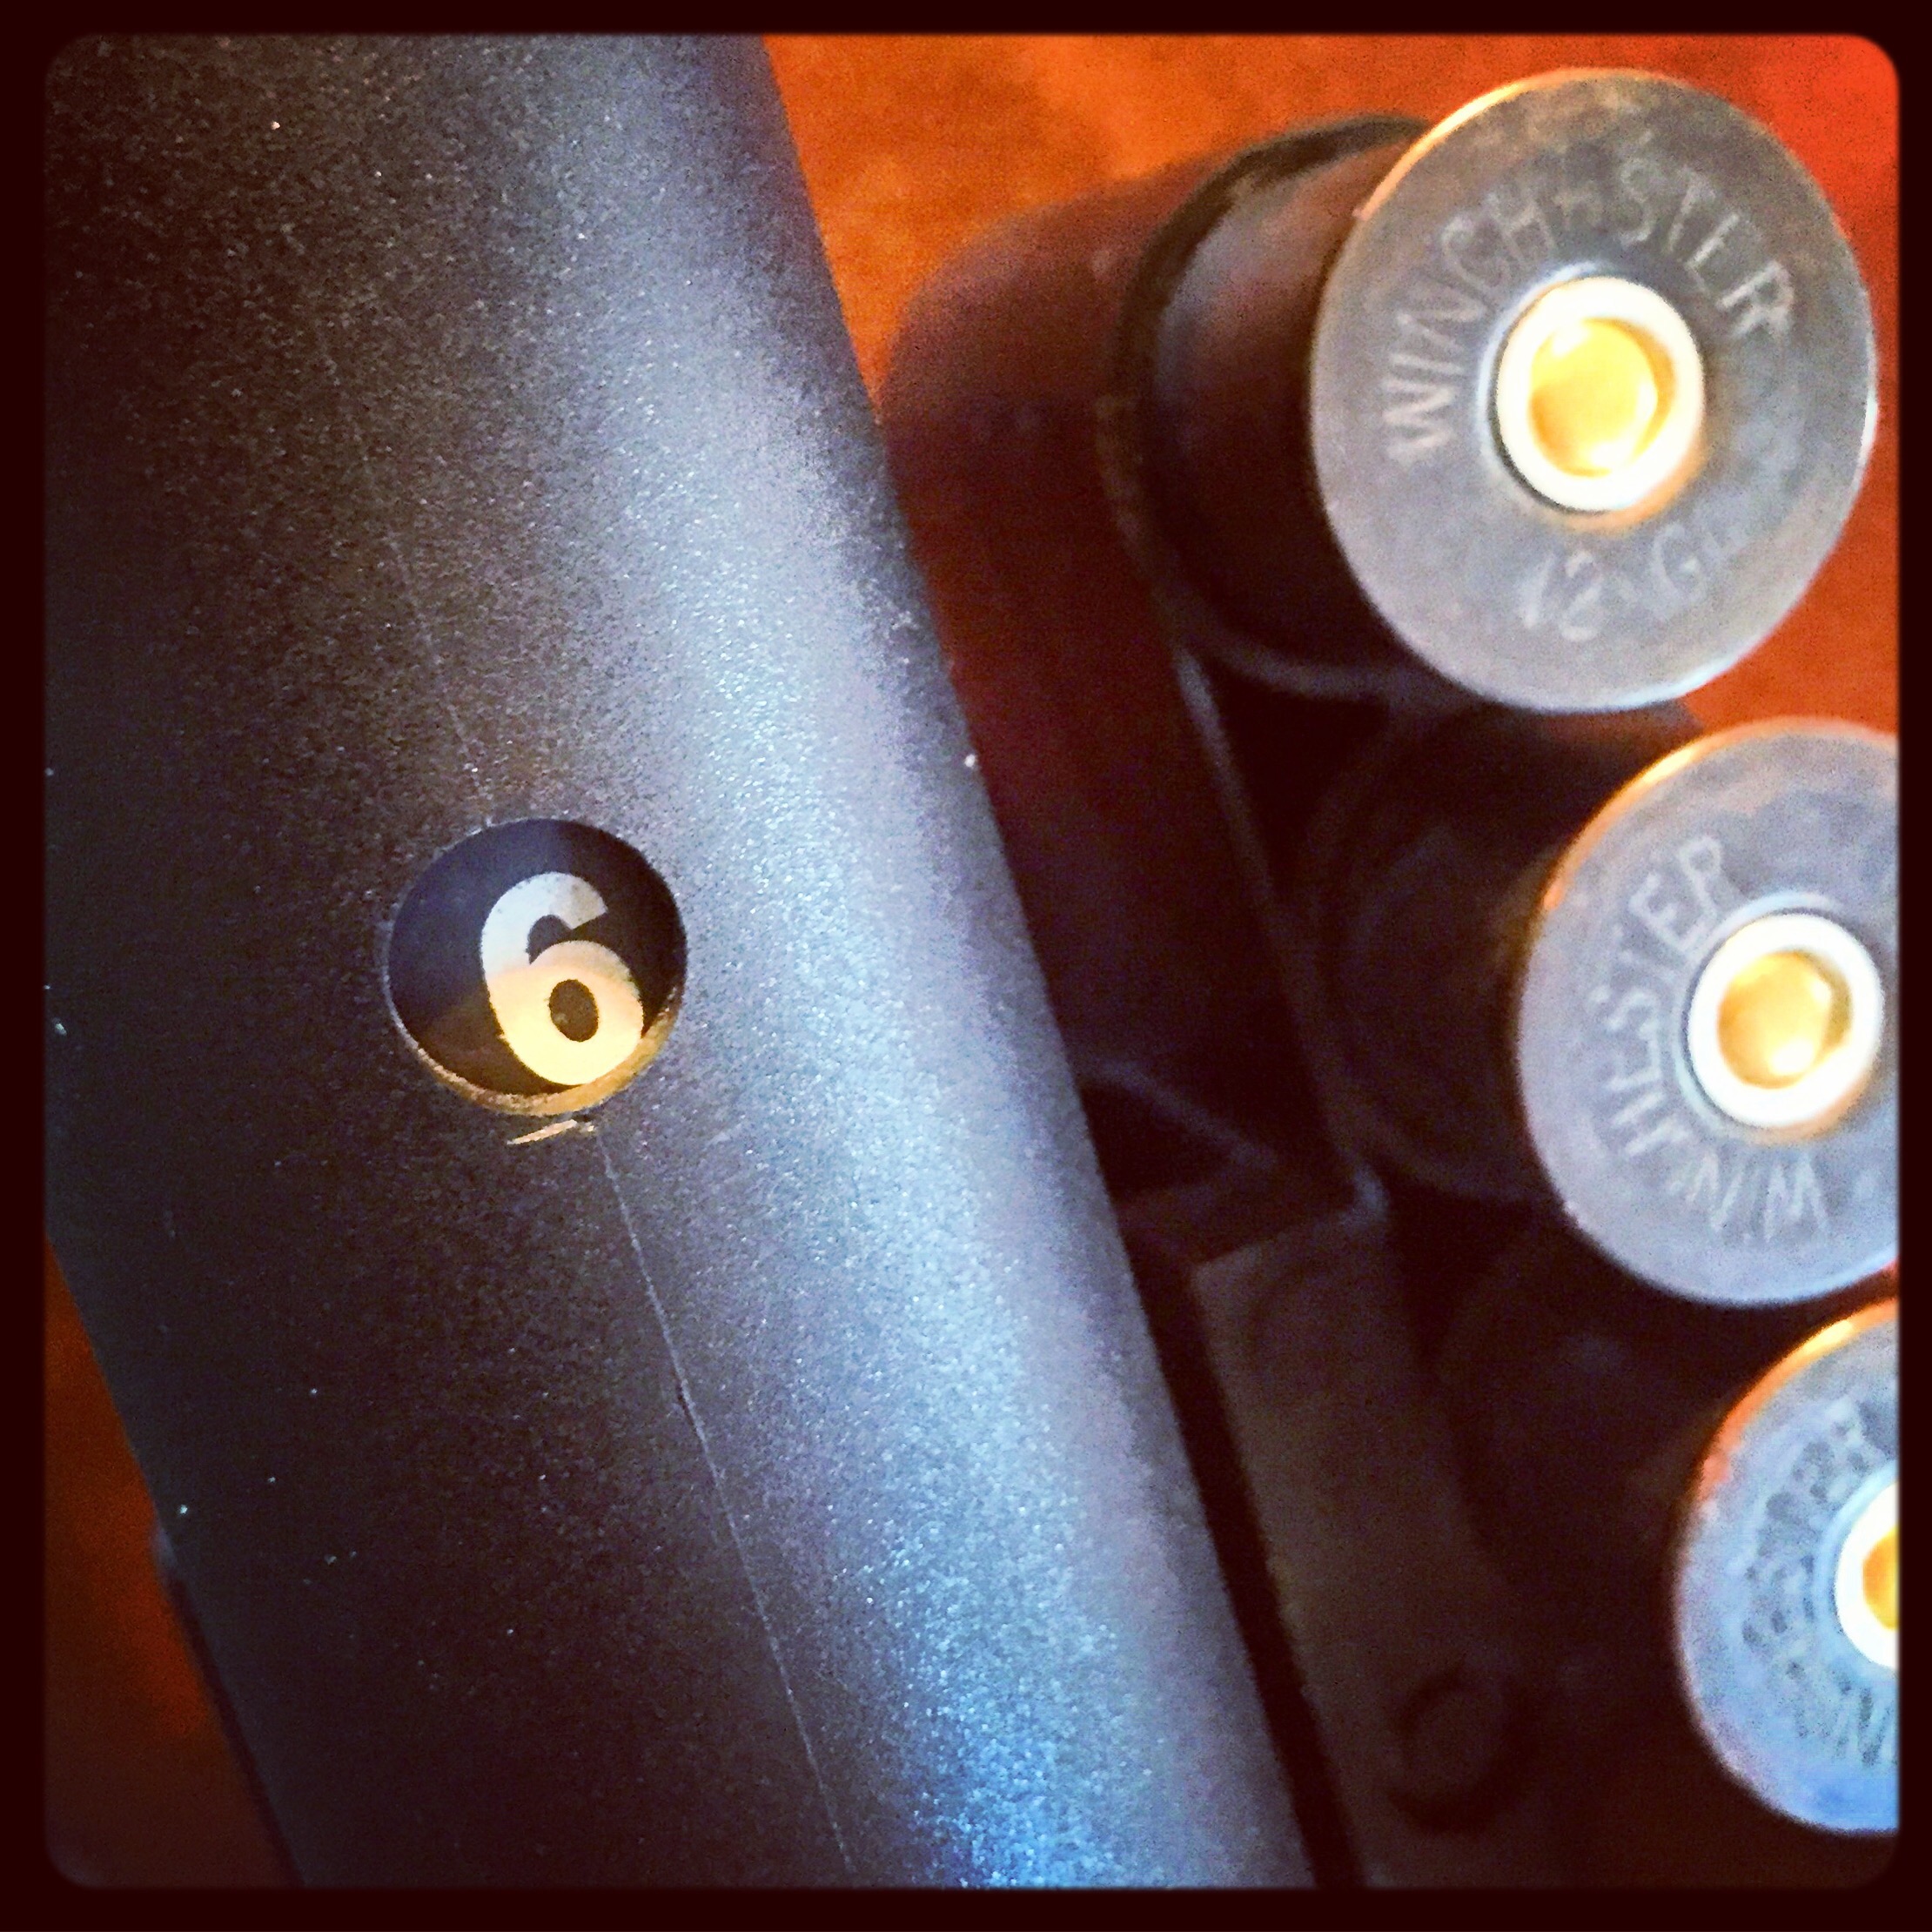
The 6 position CAA M4 style stock is easy to install if you know how. Take the supplied allen wrench and remove the single machine screw from each side of the stock; located above and behind the pistol grip.
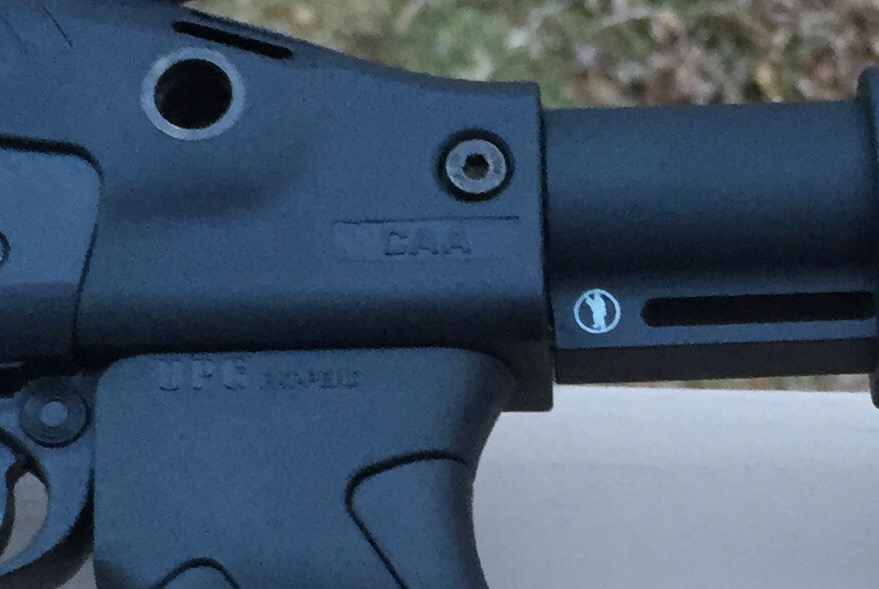
The stock tube should slide right off. Look inside the opening left above and behind the pistol grip and you should see the hole you need to attach the stock to the gun. Obviously we won’t be reusing the giant factory screw for this so look in the CAA bag and select the screw with the proper threading for your gun and use the supplied allen wrench to attach and tighten the pistol grip in place. now replace the machine screws after re-inserting the stock tube and assembly is complete.
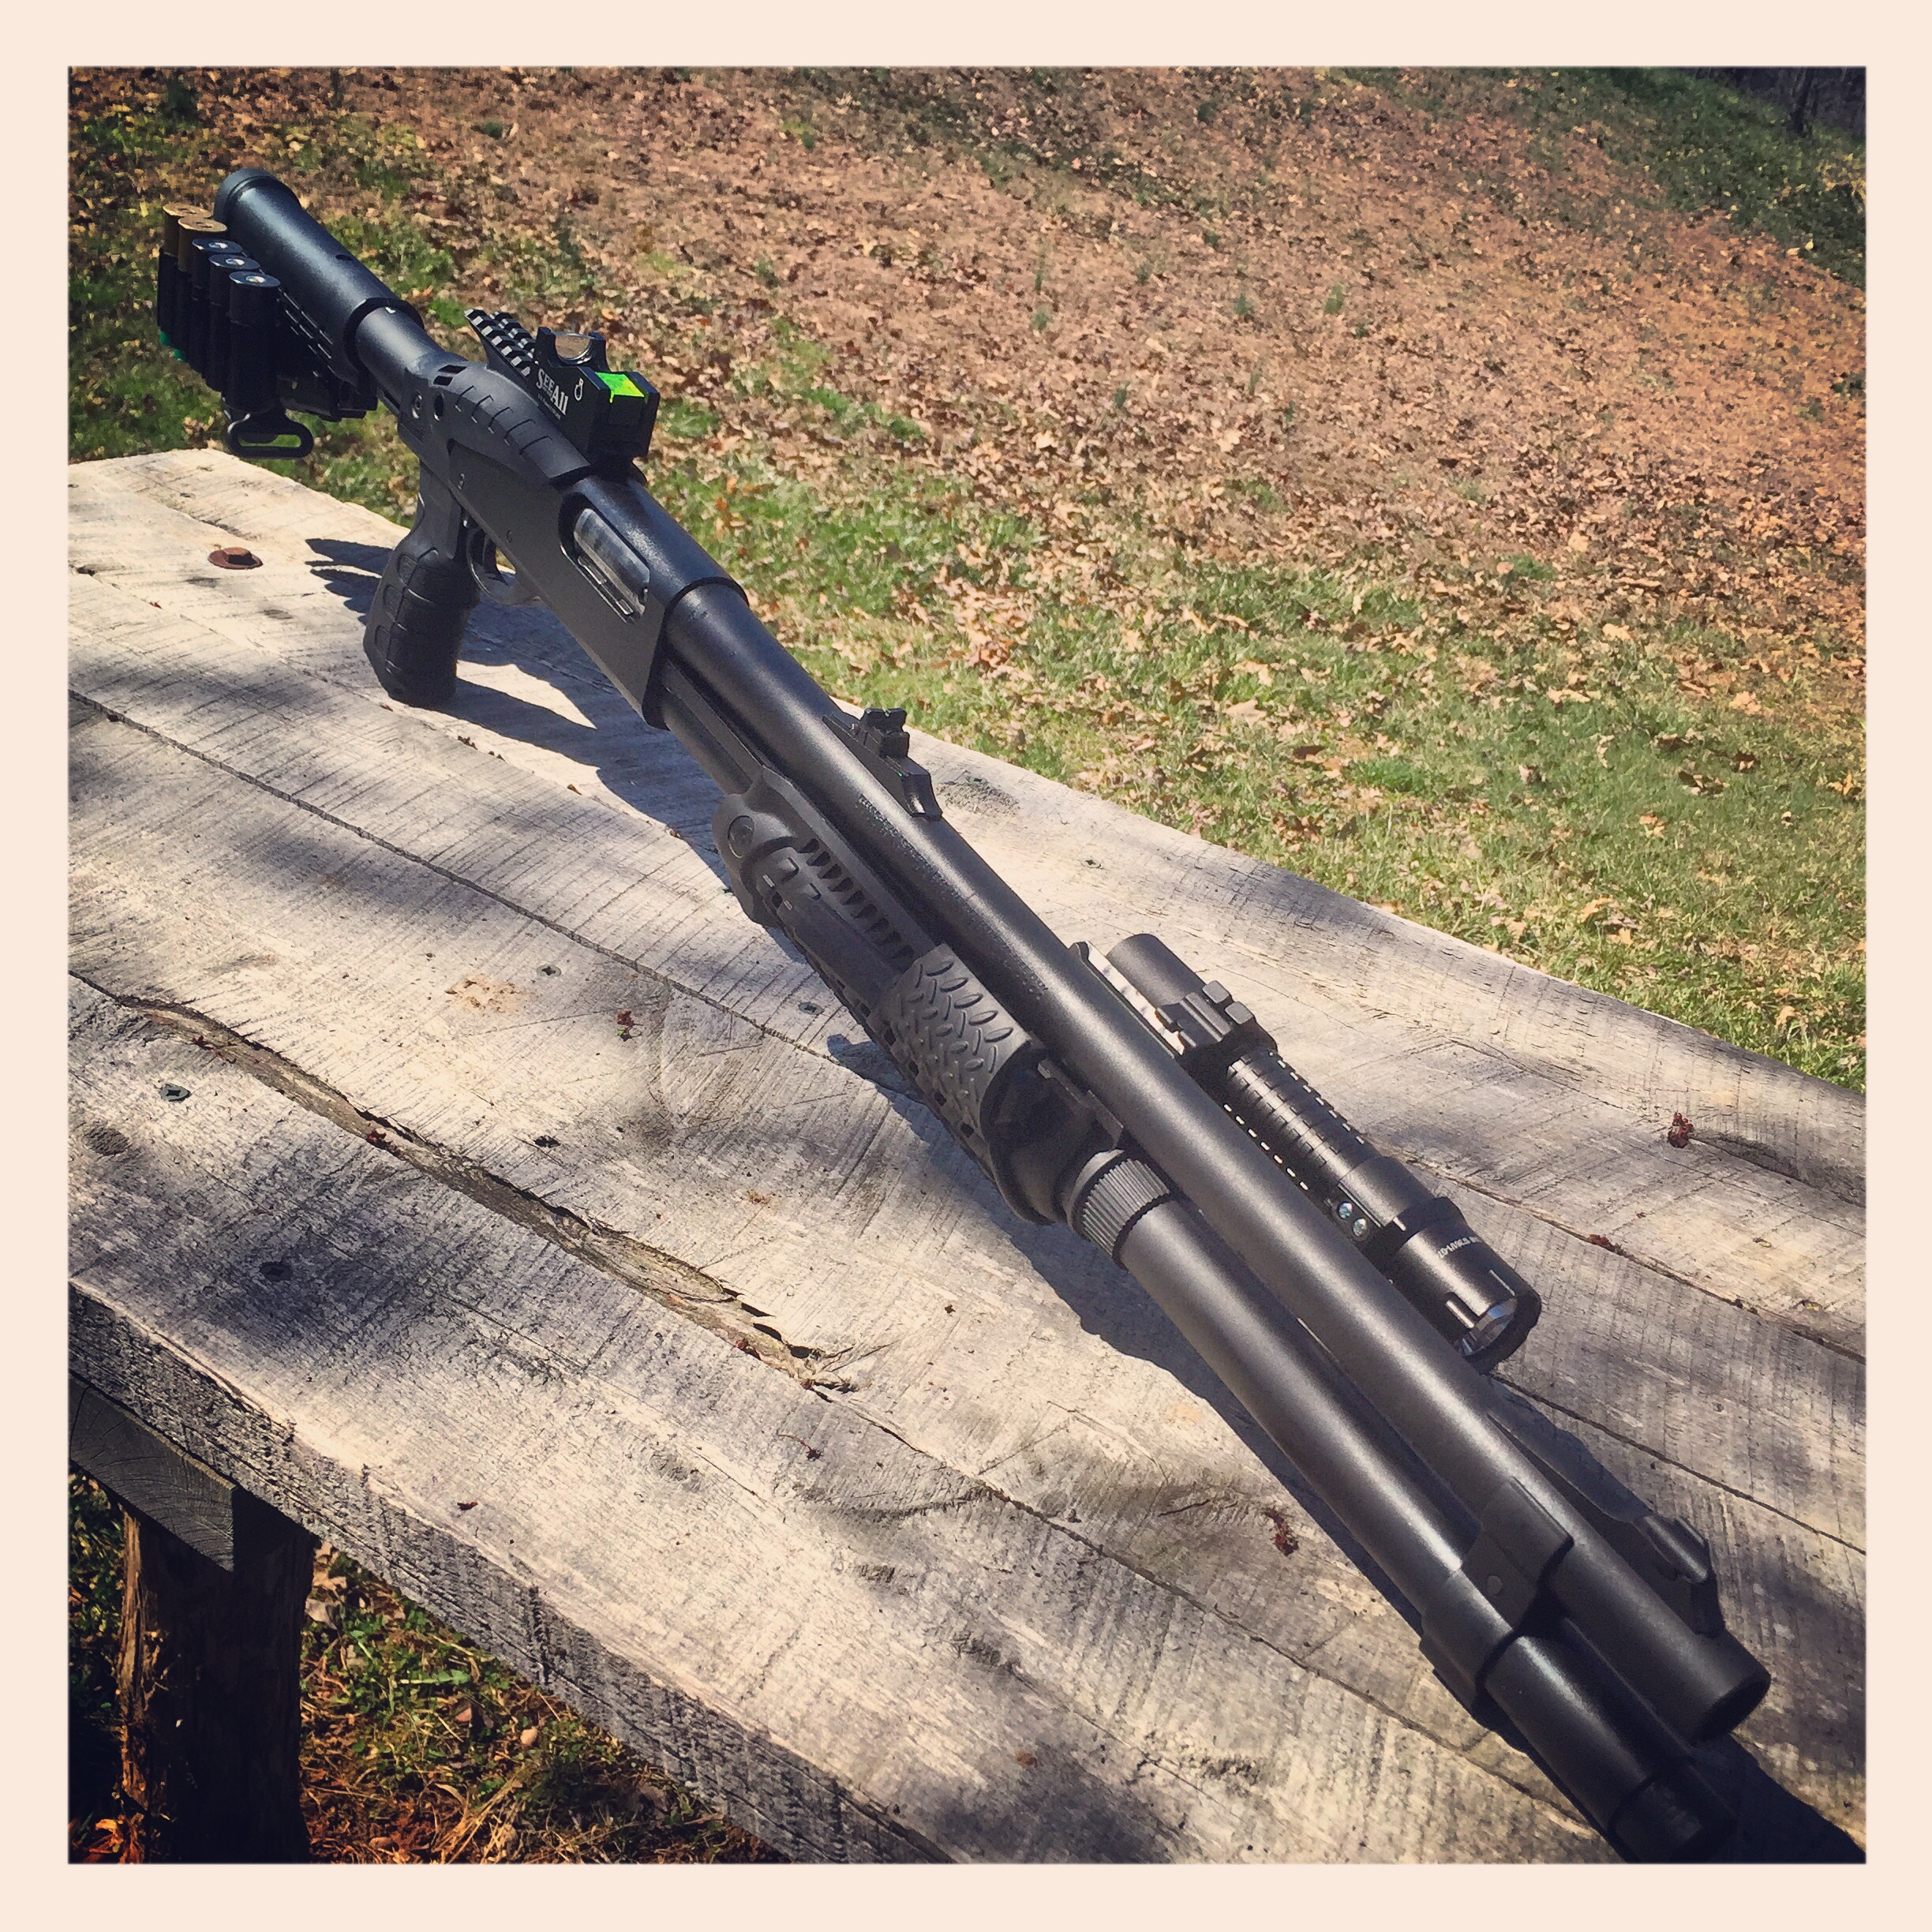
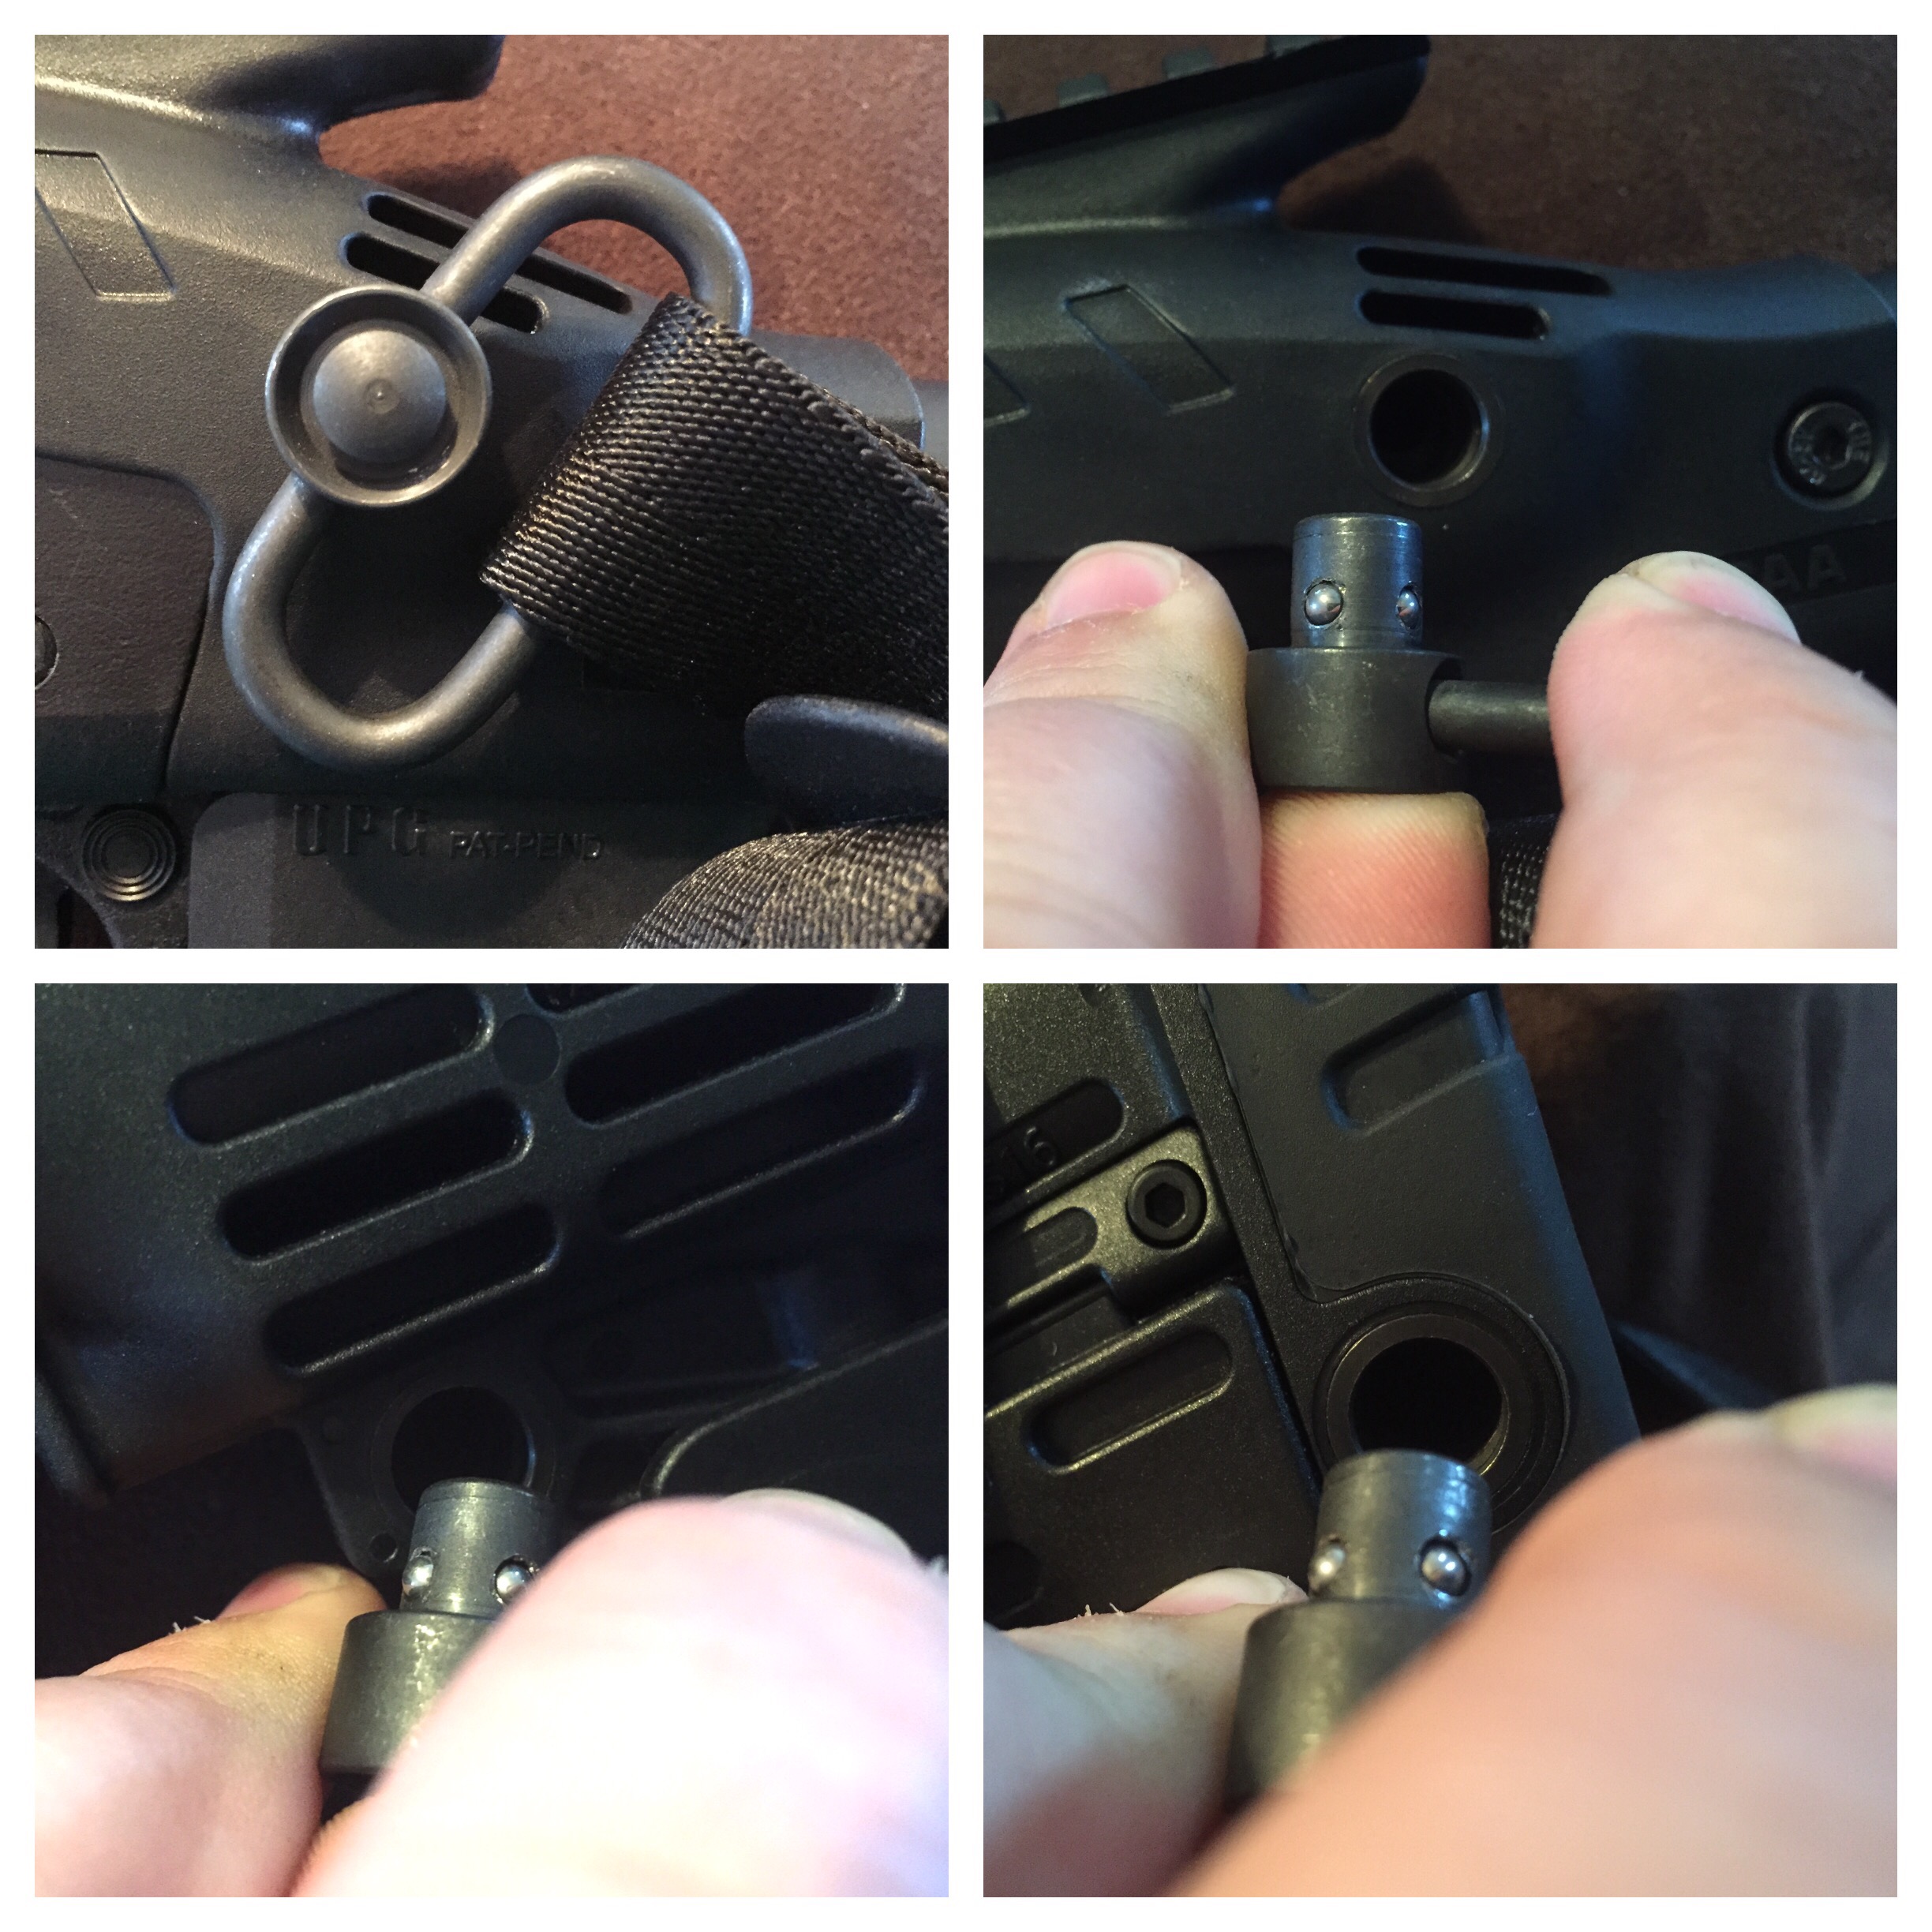
All that’s left is adding the gear you want on the gun. For me that was a Nightstick long gun light kit, a CAA shell carrier and quick detachable sling swivel with single point tactical sling. The CAA forend we chose provides two short and one full length picatinny rail so we placed the long gun light kit on the left with the pressure switch looped to the right side and still have plenty of space to add items for future durability testing. 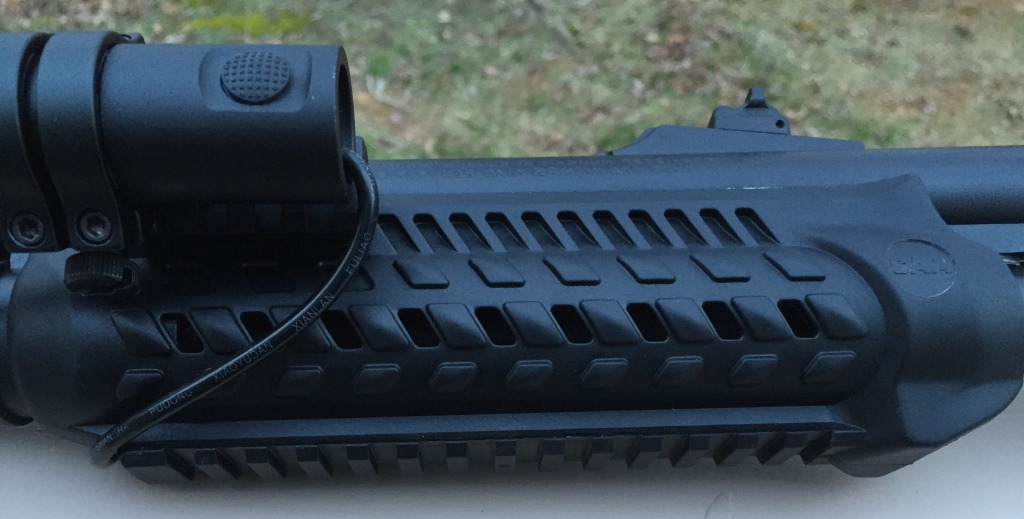

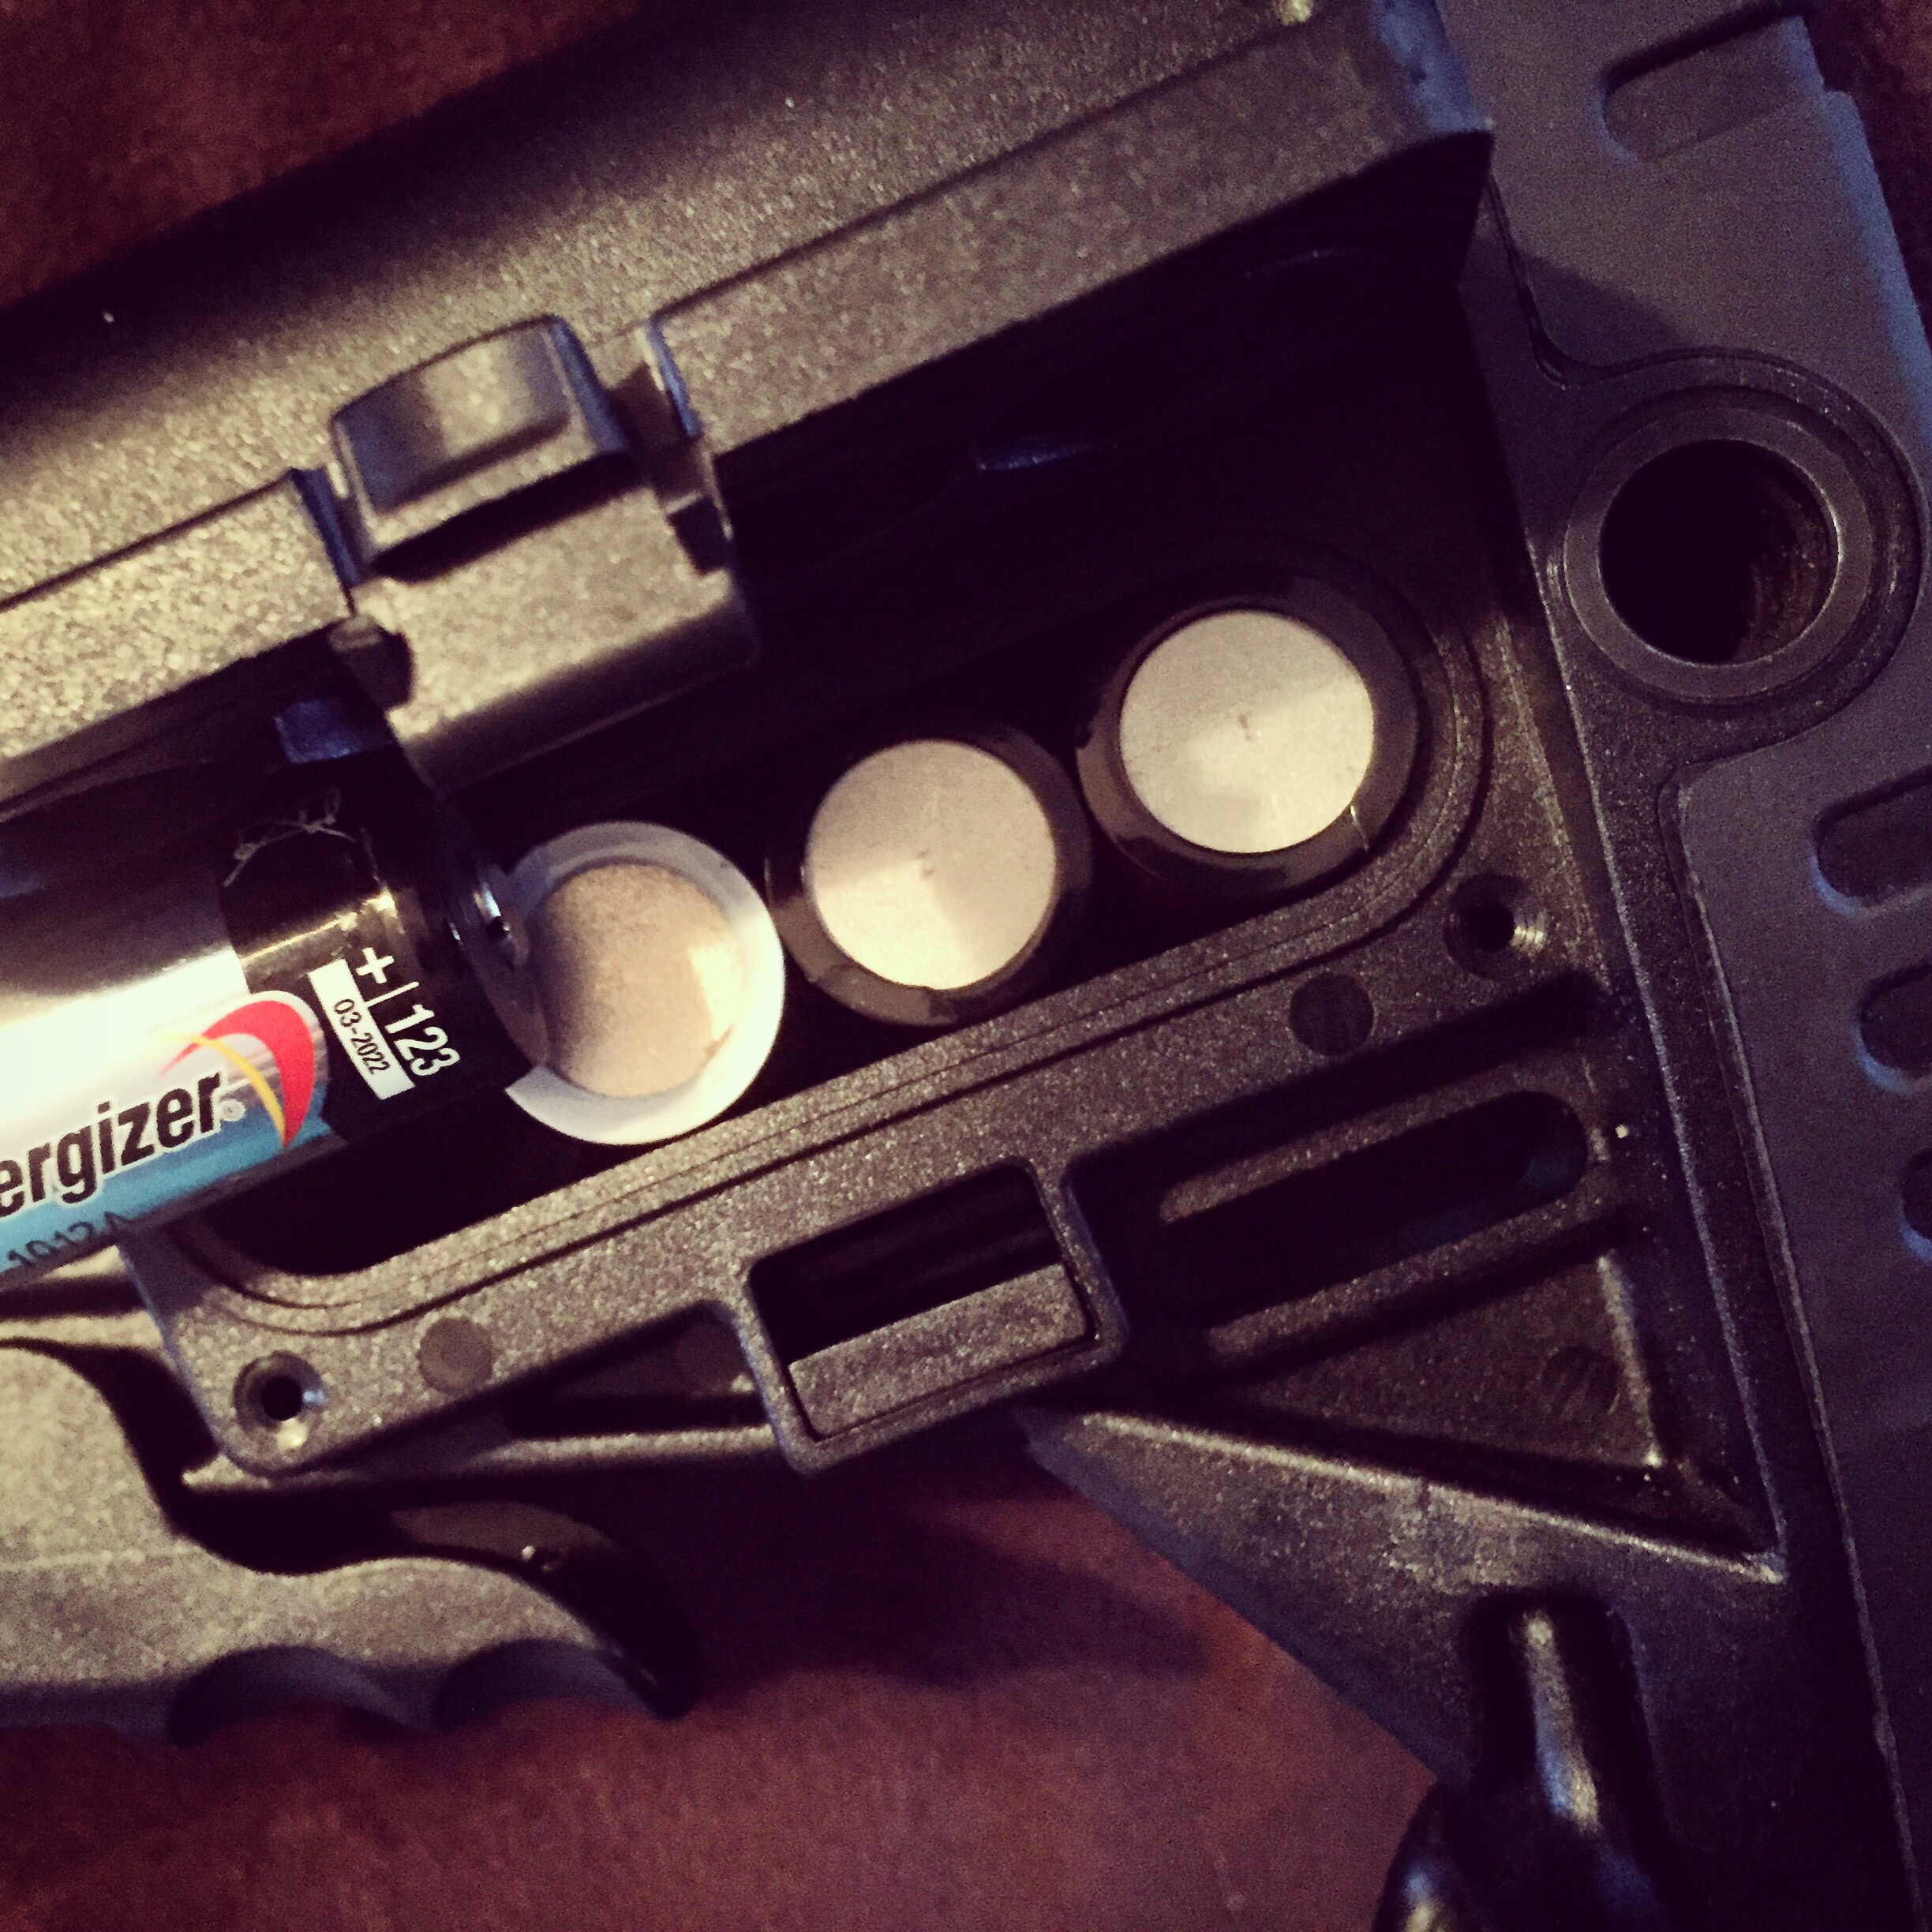
The stock provides a reversible compartment for housing 4 spare CR123 batteries for our light kit.
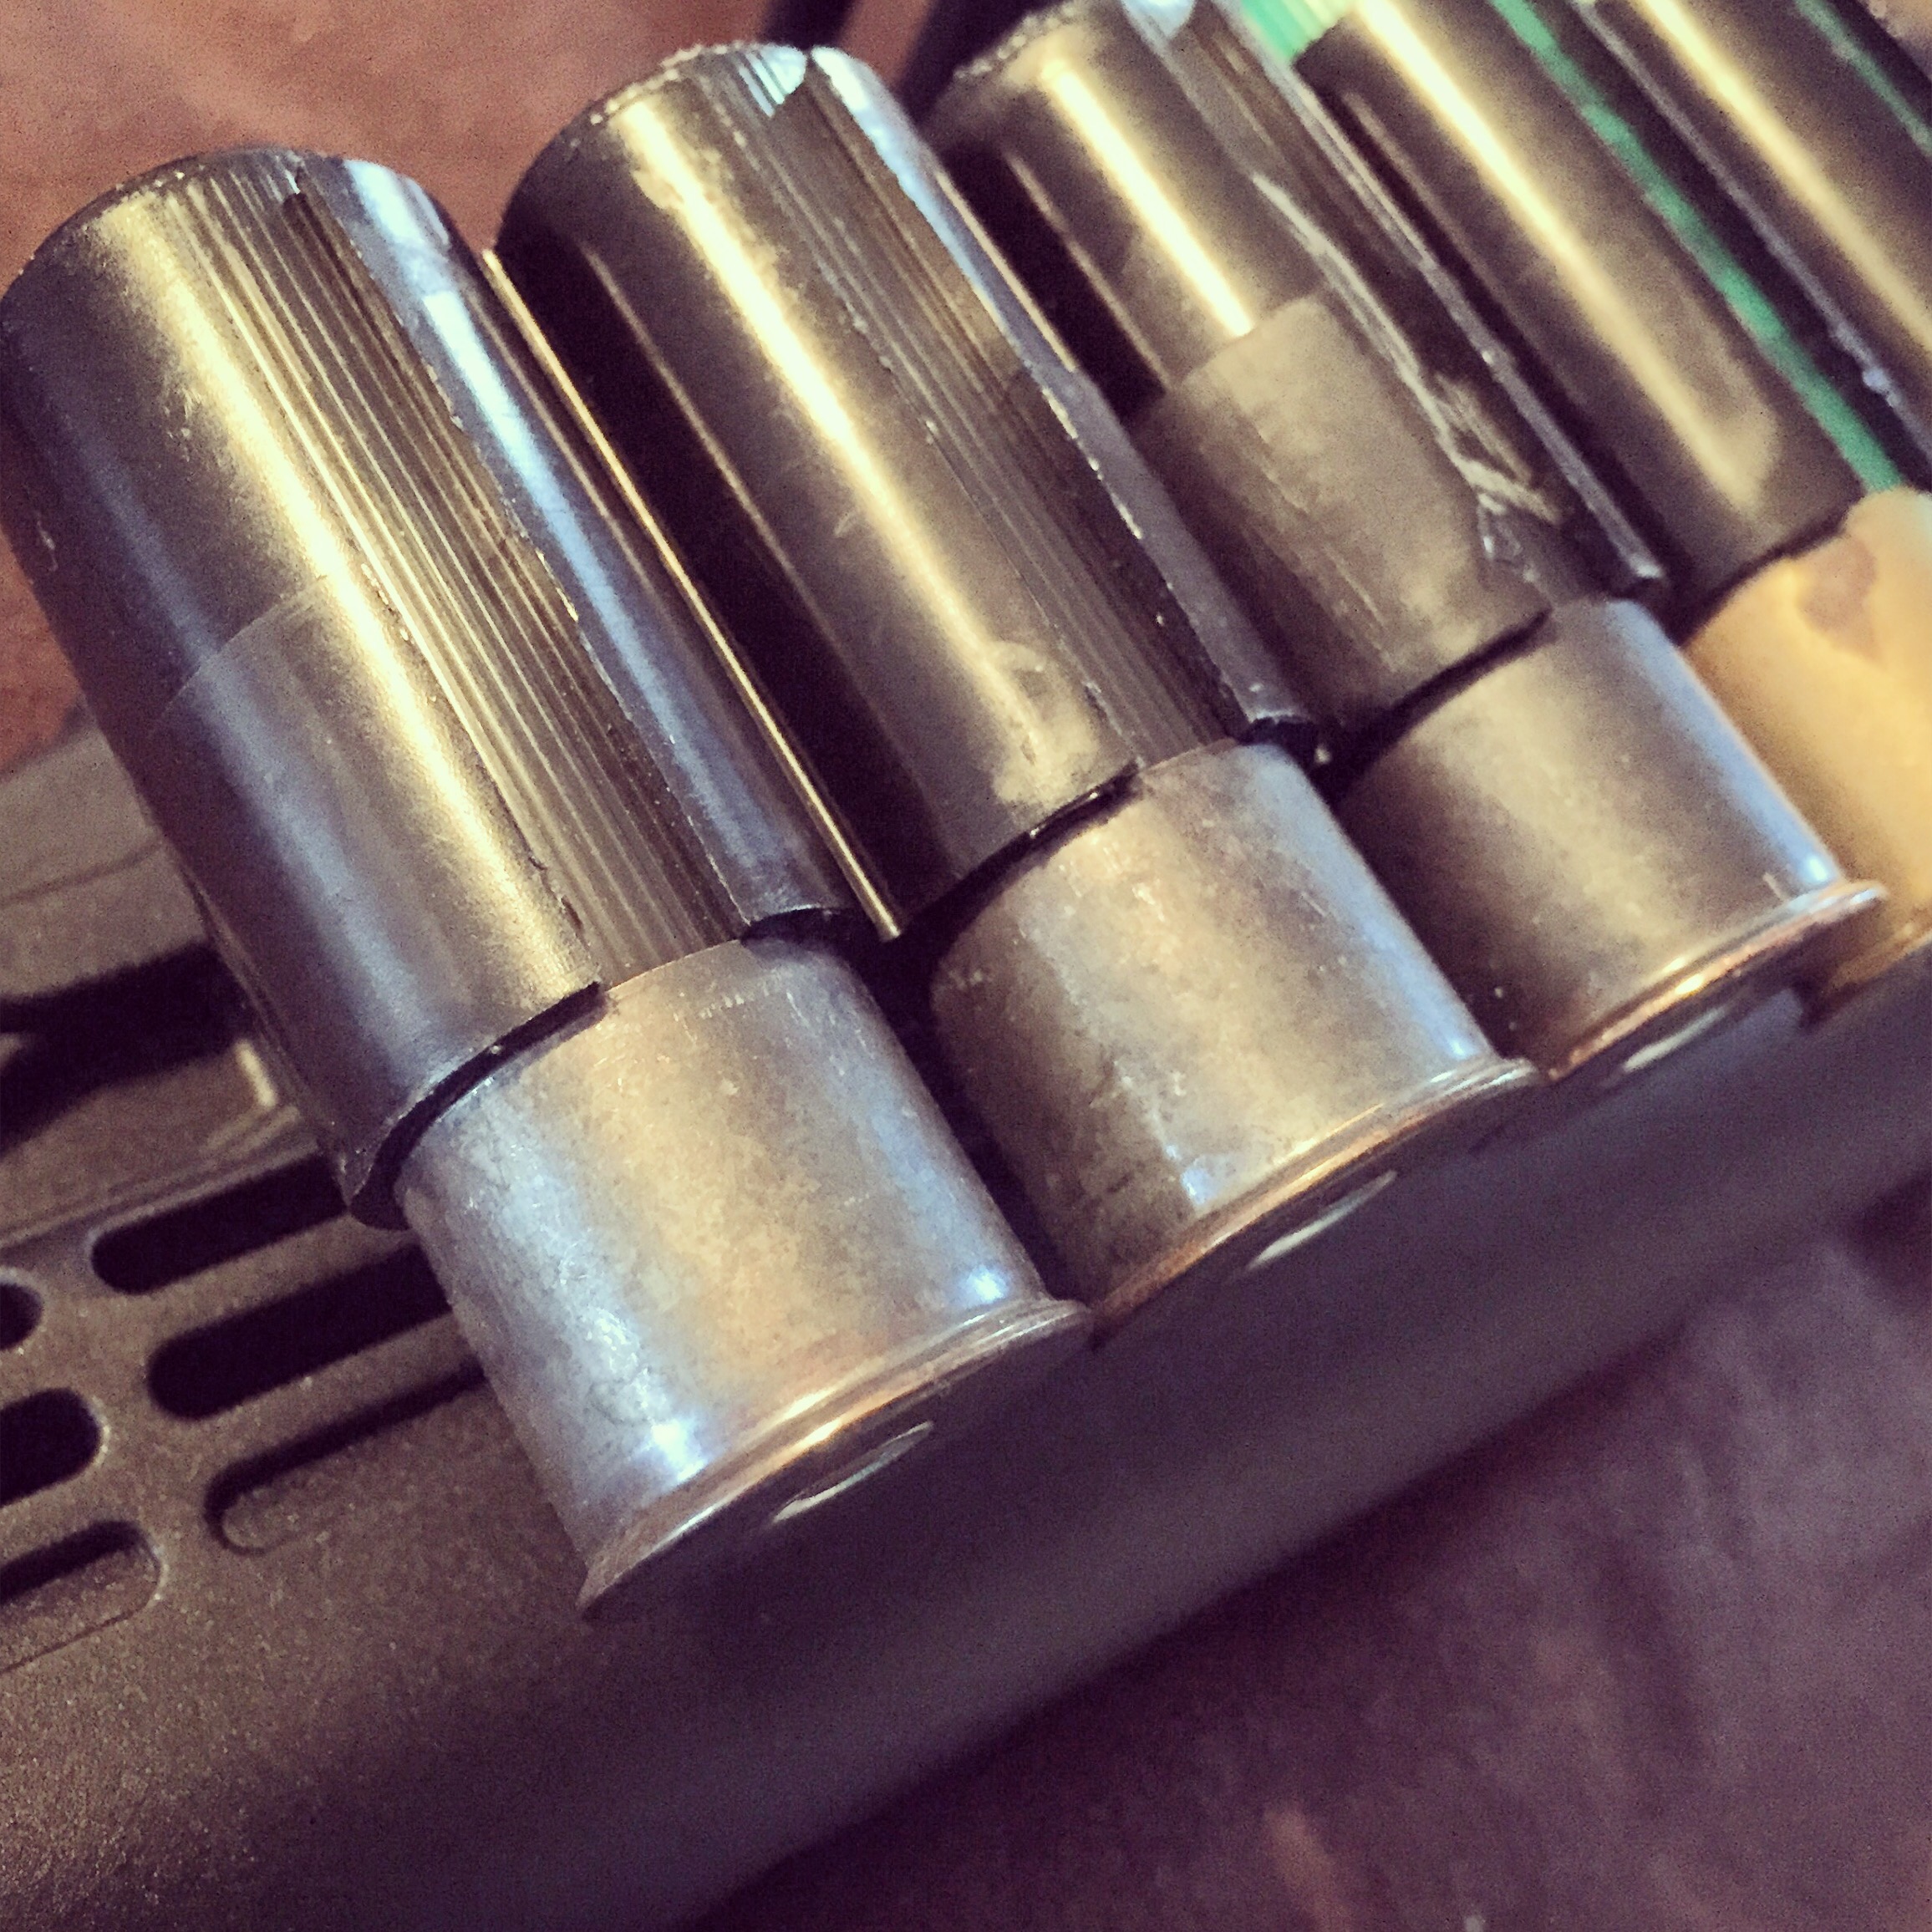
On the back side of that compartment is a short picatinny rail that allows us to add the CAA shell carrier for 5 extra rounds.
The sides of the CAA stock provide 6 different attachment points for the QD sling swivel, 3 per side, as well as a built in option for regular slings.
Unlike most stocks this CAA version extends up and over the receiver to provide a top rail for an optic.

Currently, we’ve attached a SeeAll open sight that we’ve been testing. On top of all this my favorite option is the adjustable grip of the CAA pistol grip. CAA provides small medium and large inserts for both the front and back of the grip.

A single pin holds each insert in place and you have the ability to customize the grip to your full comfort. This coupled with making the stock as short or long as needed really improves the shooting experience.
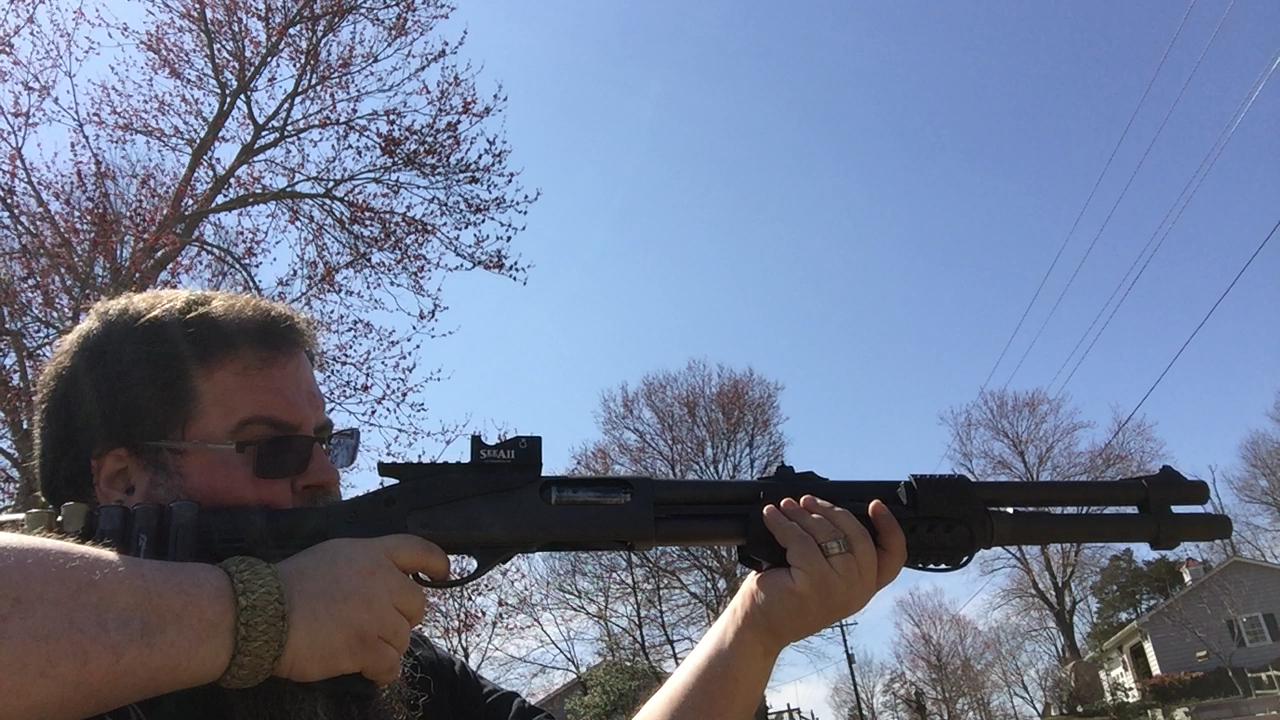
Durability
After initially fitting these parts, I took the gun out to test the durability of several optics. I fired 105 12 gauge shells that day. On shot, 105 we did have a failure. The adjustment pin on the stock broke. It’s important to note this failure did not hamper the function of the gun in anyway. It just caused the stock length to be fixed. I had fired 100 #7 1/2 target loads, 4 slugs and the shot that caused the problem was a 3 inch #4 buckshot. (Remember this is a smooth bore slug barrel, it has HEAVY recoil.) Upon reporting the failure to CAA I was pleased by the reaction. I had a replacement stock immediately and they wanted the old stock back to study what had gone wrong. Naturally I needed to test the stock again to see if this was a fluke. So I set about trying to break it. The first stock took 100 target loads and 4 slugs with ease and the failure occurred with a magnum #4 buckshot. So this time I was off to the range with a value pack of slugs, 10 PDX1 slug/00 combination shells and a multitude of 3 inch magnum 00 buckshot. If the #4 recoil caused a failure the PDX1 should likely recreate similar recoil and the magnum 00 buck would eclipse it. In the end, my shotgun was well sighted in and still fully adjustable. I’m convinced the problem was an anomaly and I also learned that CAA has superior customer service. I also learned how much they care about quality because I received a call from the engineering staff to discuss the exact circumstances around the failure, they were in full investigation mode. I often tell people; you only see the true quality of a company in how they handle things that go wrong. I think CAA really shines in that moment. I have nothing but positive impressions of them from the first interaction at SHOTShow 2015 to the last email verifying when the winner can expect contact.

I would not hesitate to use CAA parts in any upcoming build.